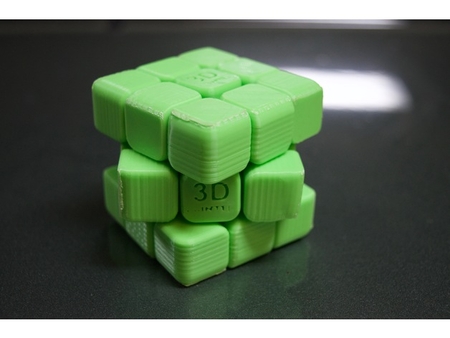
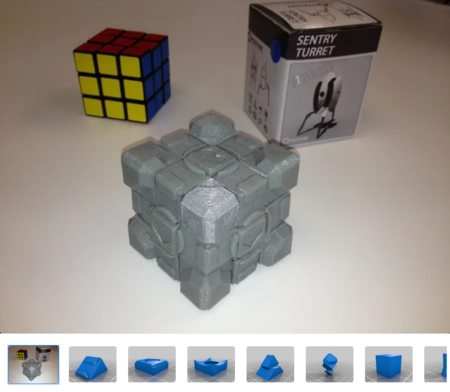
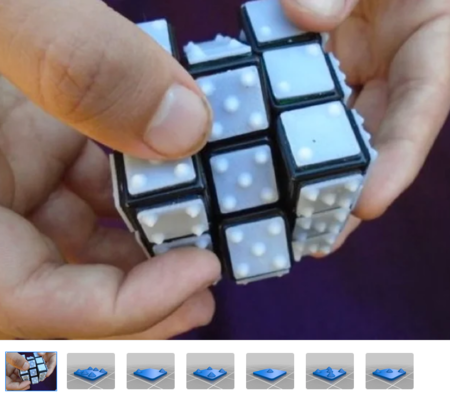
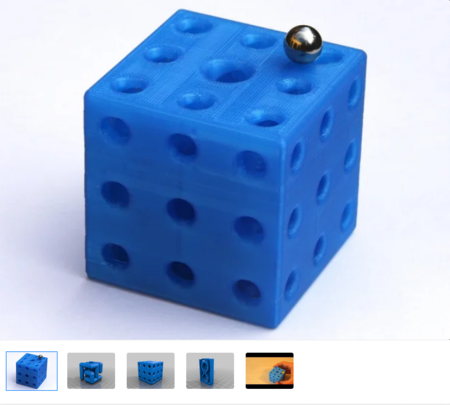
Fully printed 3x3 puzzle 3D for print
15956 Views 3 Likes 1 Downloads Download the piece here from 3dforprint
Dimensions:
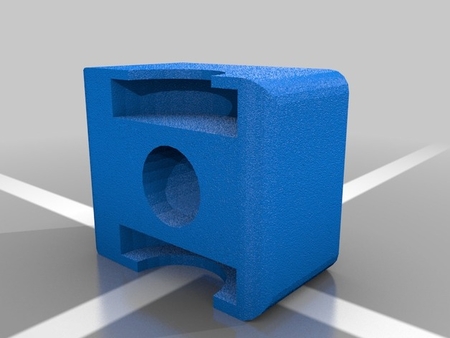
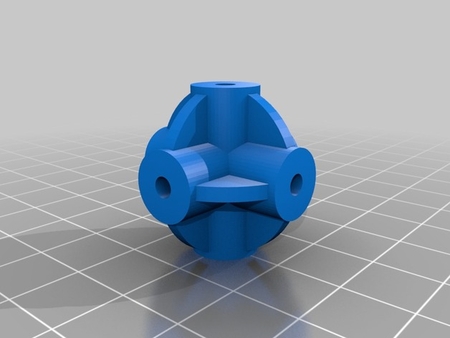
The final part will be about 60mm x 60mm x 60mm. The edges are about 25mm x 25mm x 20mm, the corners are about 25mm x 25mm x 25mm, the centers are about 20mm x 20mm x 25mm, and the core is 20mm x 20mm x 20mm.
Part Details:
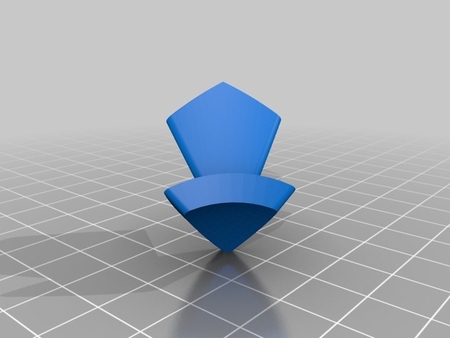
You will need 12 edges, 8 corners, 6 centers (either with or without text), and 1 core.
The only parts that should need support are the edges and corners.
Center With Text.stl: This piece says "3D Printed".
Center No Text.stl: This piece is just a blank center piece. This is ideal for applying stickers.
Shorter parts: If your puzzle falls apart too easily, you can try tightening it using these pieces.
Assembly:
Pop the centers into the core. Then, put the 4 bottom edges in place between the centers, using a flat surface. Add the 4 bottom corners. At this point, you can put the 4 middle edges in place. Then, add the top 4 corners. Lastly, pop the final 4 edges into place.
If you have any questions, comments, or suggestions, let me know in the comments. If you would like to check out the tutorials and articles about 3d printing on my website, go to
https://www.constrain3d.wordpress.com
https://youtu.be/5VRxhq8DGpg
FuseBox
Rafts:
Doesn't Matter
Supports:
Yes
Resolution:
0.2 mm
Infill:
30%
Notes:
The only pieces that need supports are... the edges and corners. The centers and the core should print without any support.
Post-Printing
I used pliers to remove as much support material as possible before using sandpaper and a knife to clean up the surfaces as much as possible so that the pieces would turn easily. This led to a puzzle that turns really well. The work that you put into removing support material really shows when the cube is assembled. Additionally, once you start twisting the puzzle it will begin to move more easily.
How I Designed This
This model was designed using Autodesk Fusion 360 mostly using the extrude and revolve tools. If you would like to check out the tutorials and articles about 3d printing on my website, go to https://www.constrain3d.wordpress.com
Designer
constrain3d3d model description
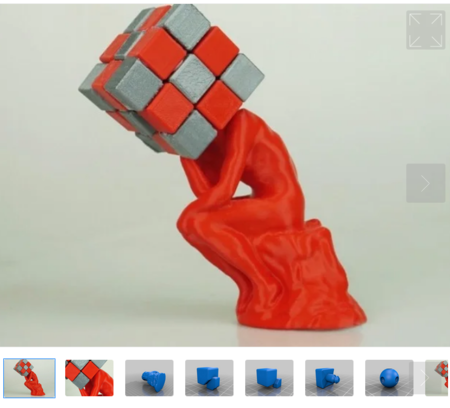
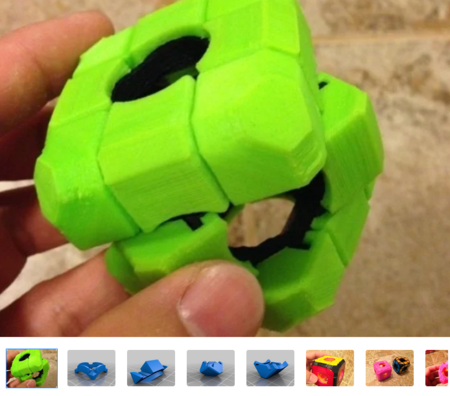
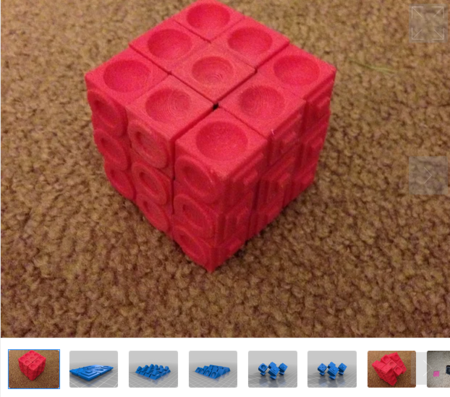
This model is a fully functional 3x3 puzzle (Rubik's Cube). It is fully solvable, and turns pretty well. The performance of this cube would probably i...mprove based on the amount of effort put into post-printing cleanup. Although it is not as stable as a mass-produced puzzle, this cube works well. Have fun printing this cube and seeing how fast you can solve it!Dimensions:
The final part will be about 60mm x 60mm x 60mm. The edges are about 25mm x 25mm x 20mm, the corners are about 25mm x 25mm x 25mm, the centers are about 20mm x 20mm x 25mm, and the core is 20mm x 20mm x 20mm.
Part Details:
You will need 12 edges, 8 corners, 6 centers (either with or without text), and 1 core.
The only parts that should need support are the edges and corners.
Center With Text.stl: This piece says "3D Printed".
Center No Text.stl: This piece is just a blank center piece. This is ideal for applying stickers.
Shorter parts: If your puzzle falls apart too easily, you can try tightening it using these pieces.
Assembly:
Pop the centers into the core. Then, put the 4 bottom edges in place between the centers, using a flat surface. Add the 4 bottom corners. At this point, you can put the 4 middle edges in place. Then, add the top 4 corners. Lastly, pop the final 4 edges into place.
If you have any questions, comments, or suggestions, let me know in the comments. If you would like to check out the tutorials and articles about 3d printing on my website, go to
https://www.constrain3d.wordpress.com
https://youtu.be/5VRxhq8DGpg
3d model print parameters
Printer:FuseBox
Rafts:
Doesn't Matter
Supports:
Yes
Resolution:
0.2 mm
Infill:
30%
Notes:
The only pieces that need supports are... the edges and corners. The centers and the core should print without any support.
Post-Printing
I used pliers to remove as much support material as possible before using sandpaper and a knife to clean up the surfaces as much as possible so that the pieces would turn easily. This led to a puzzle that turns really well. The work that you put into removing support material really shows when the cube is assembled. Additionally, once you start twisting the puzzle it will begin to move more easily.
How I Designed This
This model was designed using Autodesk Fusion 360 mostly using the extrude and revolve tools. If you would like to check out the tutorials and articles about 3d printing on my website, go to https://www.constrain3d.wordpress.com
