Oskar's cube 3D for print
14964 Views 2 Likes 1 Downloads Download the piece here from 3dforprint
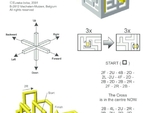
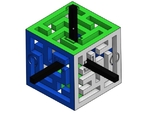
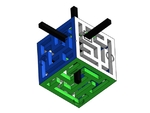
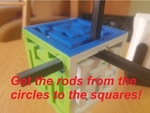
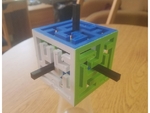
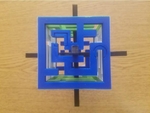
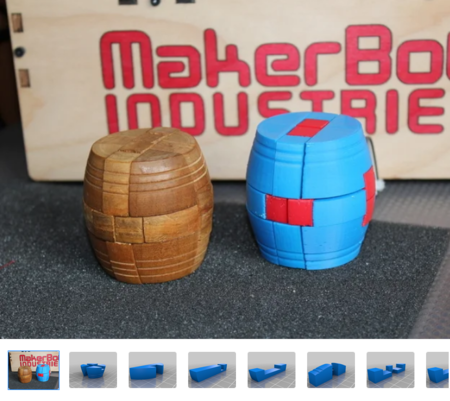
The puzzle is simple: Have the rods aligned such that each rod is either aligned through a circle or square. Then manipulate the rod through the maze so it ends where the rods all through the other indicated positions. (E.g. if the rods start through the circle positions as shown in the picture, navigate them through the maze to get all rods through the squares.) Be warned, this puzzle is deceptively difficult! There are lots of steps and backtracking. If you want a solution, there's a PDF in the downloads section.
Printing is straightforward, but make sure you assemble the pieces in the correct orientation! I've provided photos for reference in the downloads section.
20%
Notes:
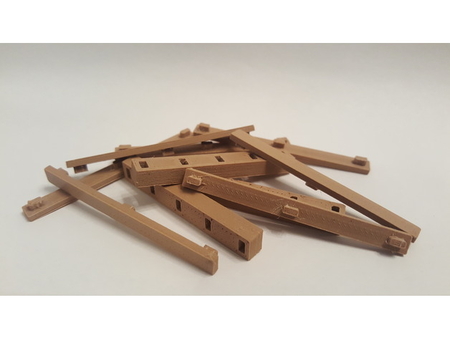
You will need a decent infill and fairly thick walls. Only the Last Rod file needs support for the small pin. There is 0.15mm ...tolerance between the rods and the maze pieces. If needed, you can reduce the size of the rods a little bit to let the rods move a bit more freely.
Post-Printing
Assembly Instructions
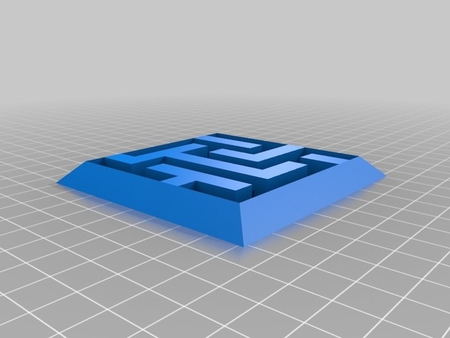
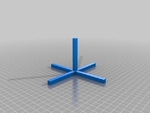
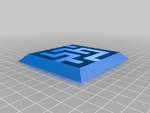
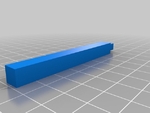
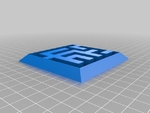
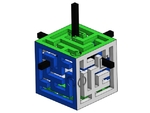
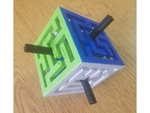
(1) Begin by printing all of the pieces, in any order you see fit. Note that the colors are arbitrary, but that the pieces labeled with "Mirror" are mirrors of the other pieces of the same color. (2) Now, make sure that the Last Rod piece fits into the Core Rods piece. Dab a bit of glue into the hole in the Core Rods piece, then fit the final rod into the slot, making sure that there is a secure connection and that the walls of the rods all align properly. (3) Put the core rods through one of the maze pieces, aligning it with either the square or the circle. Now, begin adding other pieces, threading them over the core rods, gluing them to the other pieces. Make sure you use the correct orientation! If you do not assemble the pieces correctly, the maze will have no solution! (4) Reference the pictures to make sure you're assembling the pieces correctly. Note that a given piece and its mirror should be opposite each other and actually be mirrored. That is, looking through one face, you should see the same maze. Tip: If you are having trouble getting started on a frame, you can take two pieces, putting them together (without glue), then hold them like that with some tape. You should now be able to hinge the pieces open and closed. Make sure you fit in the core rods before sealing the pieces shut! Now add the glue and seal the joint. Adding the other pieces will be much easier.
Designer
tautologicalrecursion3d model description
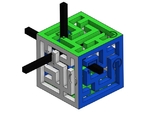
This is a design I made of Oskar van Deventer's cubic maze puzzle, called "Oskar's Cube." This puzzle is a bit obscure, and I wasn't able to find a pl...ace to purchase it. As such, I decided to create a fully printable one.The puzzle is simple: Have the rods aligned such that each rod is either aligned through a circle or square. Then manipulate the rod through the maze so it ends where the rods all through the other indicated positions. (E.g. if the rods start through the circle positions as shown in the picture, navigate them through the maze to get all rods through the squares.) Be warned, this puzzle is deceptively difficult! There are lots of steps and backtracking. If you want a solution, there's a PDF in the downloads section.
Printing is straightforward, but make sure you assemble the pieces in the correct orientation! I've provided photos for reference in the downloads section.
3d model print parameters
Infill:20%
Notes:
You will need a decent infill and fairly thick walls. Only the Last Rod file needs support for the small pin. There is 0.15mm ...tolerance between the rods and the maze pieces. If needed, you can reduce the size of the rods a little bit to let the rods move a bit more freely.
Post-Printing
Assembly Instructions
(1) Begin by printing all of the pieces, in any order you see fit. Note that the colors are arbitrary, but that the pieces labeled with "Mirror" are mirrors of the other pieces of the same color. (2) Now, make sure that the Last Rod piece fits into the Core Rods piece. Dab a bit of glue into the hole in the Core Rods piece, then fit the final rod into the slot, making sure that there is a secure connection and that the walls of the rods all align properly. (3) Put the core rods through one of the maze pieces, aligning it with either the square or the circle. Now, begin adding other pieces, threading them over the core rods, gluing them to the other pieces. Make sure you use the correct orientation! If you do not assemble the pieces correctly, the maze will have no solution! (4) Reference the pictures to make sure you're assembling the pieces correctly. Note that a given piece and its mirror should be opposite each other and actually be mirrored. That is, looking through one face, you should see the same maze. Tip: If you are having trouble getting started on a frame, you can take two pieces, putting them together (without glue), then hold them like that with some tape. You should now be able to hinge the pieces open and closed. Make sure you fit in the core rods before sealing the pieces shut! Now add the glue and seal the joint. Adding the other pieces will be much easier.
