Pokemon card stands 3D for print
2658 Views 2 Likes 0 Downloads Download the piece here from 3dforprint
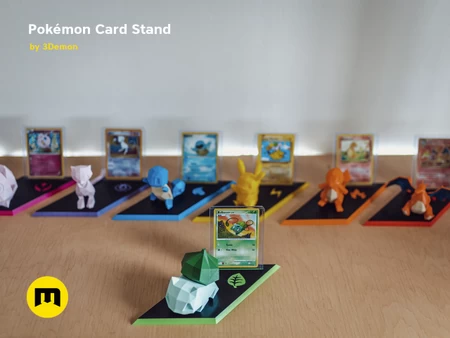
The black layers on the top which help separate the Pokémon with contrast are done using a color change in the slicer as described below.
The stands have Pokémon energy types stamped into them but there is also a blank version that doesn’t have any symbol on it. Energy types: Fire, Water, Lightning, Fighting, Psychic, Colorless, Darkness, Metal, Dragon and Fairy
Do you like the model and don't have a 3D printer? There are lots of people who offer 3D printing services these days. Try searching for someone who offers them in your area.
This fan-made model was brought to life by Filip from 3Demon. We are a group of modeling and 3d printing enthusiasts based in Prague, Czech Republic. We’ve been making 3D printable models for more than a decade. We make a lot of cosplay accessories but we also make all sorts of interesting 3D models. You can join our community or just look at more of our creations here: 3Demon Links
Prusa
Printer:
i3 MK3
Rafts:
No
Supports:
No
Resolution:
0,2 mm
Infill:
9
Filament brand:
Fillamentum, S...unlu Rainbow Silk
Filament material:
PLA
Notes:
There are two size versions of holes for the cards. One for 3" X 4" Toploaders and the other is for PSA cases which are bigger.
At 100% scale the model’s dimensions are approximately:
Width 206 mm
Length 102 mm
Height 8 mm
Can be turned diagonally to fit 170 mm print beds.
3D printing settings we used:
Layer height 0.2 mm
No Supports
0 bottom layers
Infill 9% Triangles (because of the low infill we set a single solid layer to print on the layer where the type symbol starts printing because it wasn’t bridging it well enough.
Color change:
To change the color for the top black layers you can use PrusaSlicers color change function or you can open any g-code in a text editor and add the code M600 before the layer where you want the change to occur. Top 2 layers should be black to ensure even coverage.
The single color stands were printed with Fillamentum PLA and the rainbow version was printed with Sunlu Rainbow Silk PLA.
If you want the top solid infill to be aligned with the edges then set it to a 46.6° angle.
If you have a spotless printing surface you might want to print the stand upside down and have a glossy finish (the type symbol will bridge easily without supports).
Printing settings will vary greatly depending on your specific printer.
Designer
3Demon3d model description
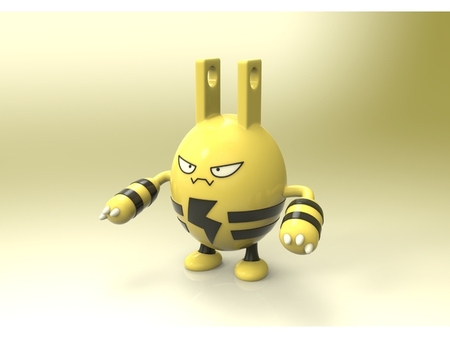
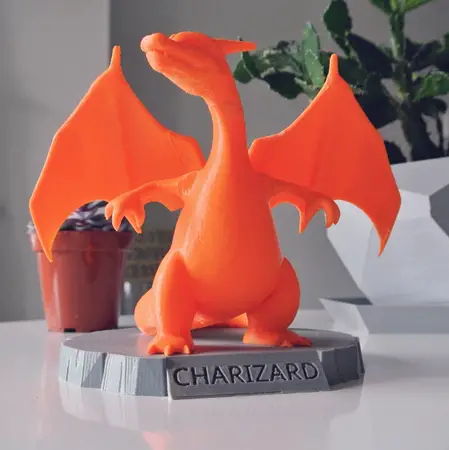
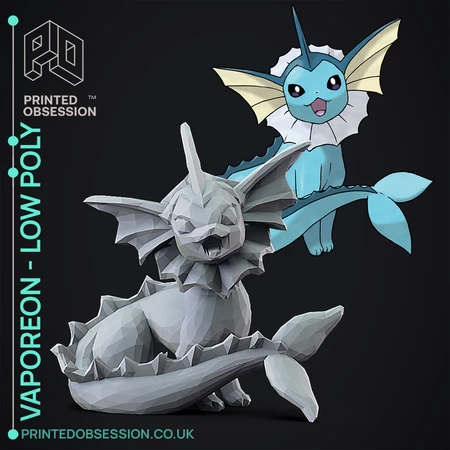
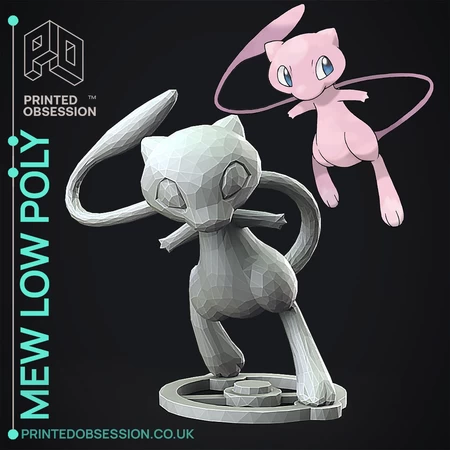
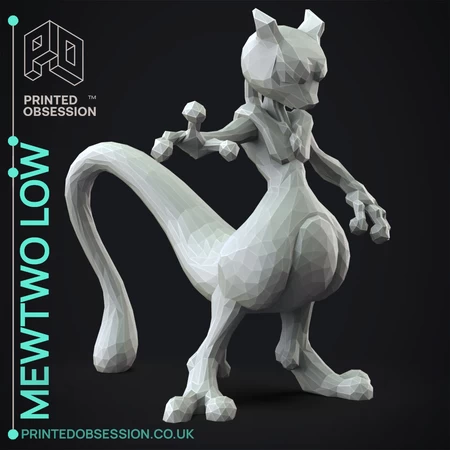
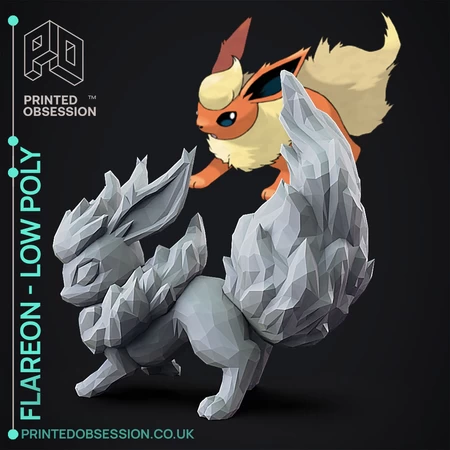
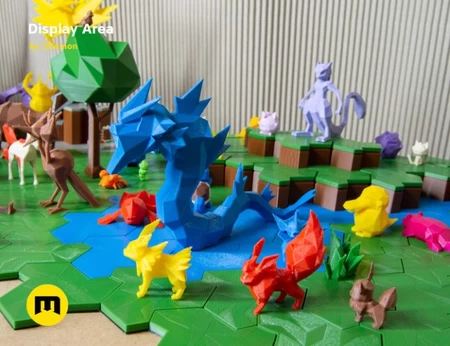
These models were designed to display Pokémon cards. The card in the stand is tilted back slightly and the area in front of the card is meant for dis...playing a 3D representation of the Pokemon. It is not directly in front of the card to not obstruct the view of it. You can have a look at our Low Poly Pokémon collection if you’d like some models to go with it: Pokemon CollectionThe black layers on the top which help separate the Pokémon with contrast are done using a color change in the slicer as described below.
The stands have Pokémon energy types stamped into them but there is also a blank version that doesn’t have any symbol on it. Energy types: Fire, Water, Lightning, Fighting, Psychic, Colorless, Darkness, Metal, Dragon and Fairy
Do you like the model and don't have a 3D printer? There are lots of people who offer 3D printing services these days. Try searching for someone who offers them in your area.
This fan-made model was brought to life by Filip from 3Demon. We are a group of modeling and 3d printing enthusiasts based in Prague, Czech Republic. We’ve been making 3D printable models for more than a decade. We make a lot of cosplay accessories but we also make all sorts of interesting 3D models. You can join our community or just look at more of our creations here: 3Demon Links
3d model print parameters
Printer brand:Prusa
Printer:
i3 MK3
Rafts:
No
Supports:
No
Resolution:
0,2 mm
Infill:
9
Filament brand:
Fillamentum, S...unlu Rainbow Silk
Filament material:
PLA
Notes:
There are two size versions of holes for the cards. One for 3" X 4" Toploaders and the other is for PSA cases which are bigger.
At 100% scale the model’s dimensions are approximately:
Width 206 mm
Length 102 mm
Height 8 mm
Can be turned diagonally to fit 170 mm print beds.
3D printing settings we used:
Layer height 0.2 mm
No Supports
0 bottom layers
Infill 9% Triangles (because of the low infill we set a single solid layer to print on the layer where the type symbol starts printing because it wasn’t bridging it well enough.
Color change:
To change the color for the top black layers you can use PrusaSlicers color change function or you can open any g-code in a text editor and add the code M600 before the layer where you want the change to occur. Top 2 layers should be black to ensure even coverage.
The single color stands were printed with Fillamentum PLA and the rainbow version was printed with Sunlu Rainbow Silk PLA.
If you want the top solid infill to be aligned with the edges then set it to a 46.6° angle.
If you have a spotless printing surface you might want to print the stand upside down and have a glossy finish (the type symbol will bridge easily without supports).
Printing settings will vary greatly depending on your specific printer.
