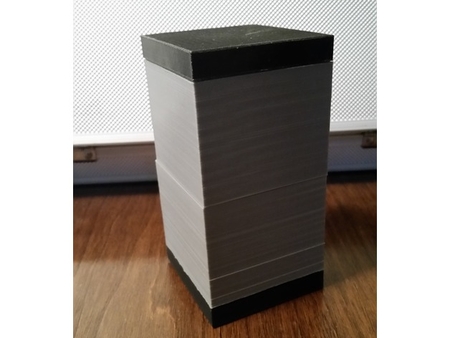
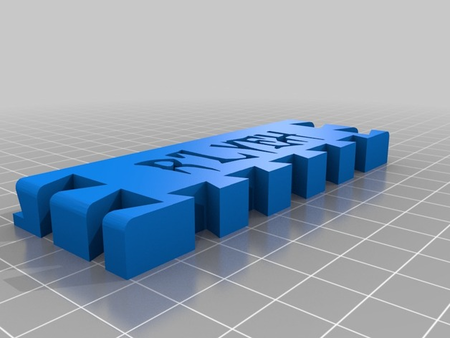
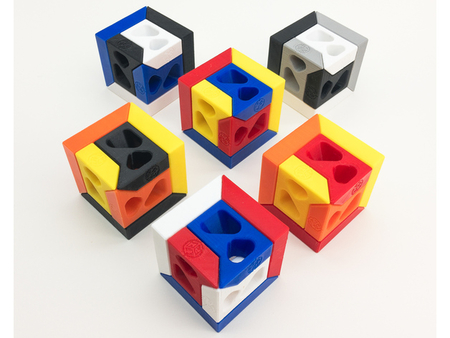
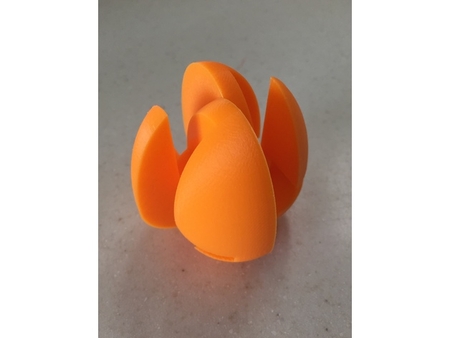
Escher puzzle 3D for print

1064 Views 0 Likes 0 Downloads Download
http://www.thingiverse.com/thing:966
.
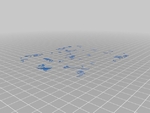
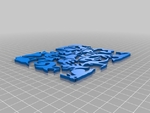
It is printed in th...ree parts:
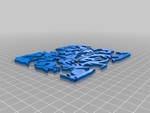
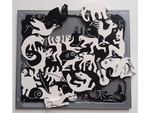
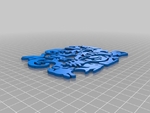
black animals
white animals
frame
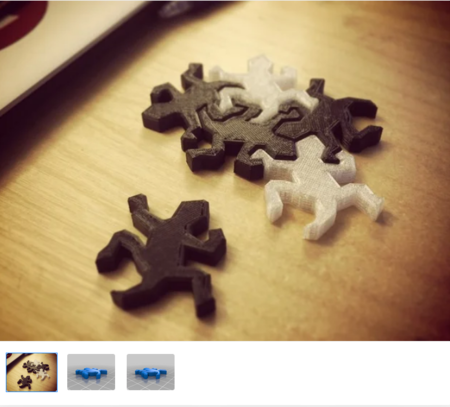
The animal STL files are available in two versions each. One including the contours as a 0.2 mm layer on top of the surfece, the other with flat surface and a separate STL file with the contours to add-on. A separate STL for contours can be useful for dual color printing or separate print settings for the fine details of the contours.
Dual color printing can be done even with a single extruder by changing the filament at 3.2 mm height. Josef Prusa offers a tool which inserts an M600 G-Code command at a given layer height:
http://www.prusaprinters.org/color-print/
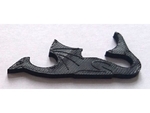
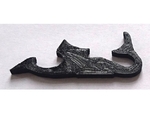
Alternatively, the contours can be printed in the same color (see example photo of the dragon) or subtracted to make an engraved contour (see other example photo of the dragon). I would recommend the dual color version, though.
Prusa
Printer:
Prusa Mk2
Rafts:
No
Supports:
No
Resolution:
0.2 mm
Notes:
I have used Slic3r for G-Code generation.... In Slic3r, you need to turn on the option Print Settings > Layers and Perimeters > Detect thin walls in order to render the fine details well. I have also reduced the extrusion width just for the contour layer. This is an "expert setting" in Slic3r. Load the flat animal STL file and double-click the object to open a Settings window. In this window you can choose "Load part..." to load the contours on top of the flat animals. Select the contours part and add the option Extrusion Width > Perimeters to set a separate extrusion width. Play around until the preview contains all details.
Designer
nosprick3d model description
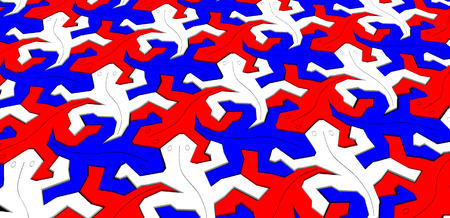
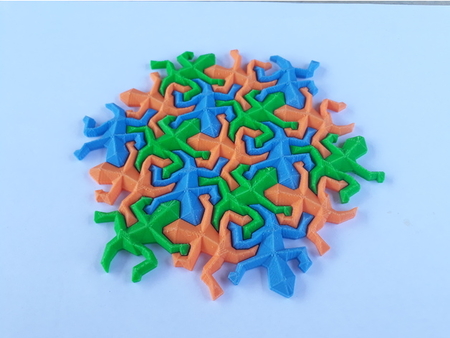
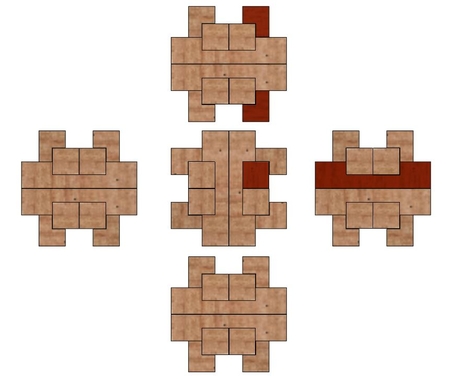
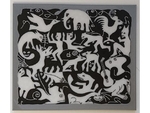
This is a 3D-printable puzzle made from Escher’s Plane Filling II, inspired by thinghttp://www.thingiverse.com/thing:966
.
It is printed in th...ree parts:
black animals
white animals
frame
The animal STL files are available in two versions each. One including the contours as a 0.2 mm layer on top of the surfece, the other with flat surface and a separate STL file with the contours to add-on. A separate STL for contours can be useful for dual color printing or separate print settings for the fine details of the contours.
Dual color printing can be done even with a single extruder by changing the filament at 3.2 mm height. Josef Prusa offers a tool which inserts an M600 G-Code command at a given layer height:
http://www.prusaprinters.org/color-print/
Alternatively, the contours can be printed in the same color (see example photo of the dragon) or subtracted to make an engraved contour (see other example photo of the dragon). I would recommend the dual color version, though.
3d model print parameters
Printer brand:Prusa
Printer:
Prusa Mk2
Rafts:
No
Supports:
No
Resolution:
0.2 mm
Notes:
I have used Slic3r for G-Code generation.... In Slic3r, you need to turn on the option Print Settings > Layers and Perimeters > Detect thin walls in order to render the fine details well. I have also reduced the extrusion width just for the contour layer. This is an "expert setting" in Slic3r. Load the flat animal STL file and double-click the object to open a Settings window. In this window you can choose "Load part..." to load the contours on top of the flat animals. Select the contours part and add the option Extrusion Width > Perimeters to set a separate extrusion width. Play around until the preview contains all details.