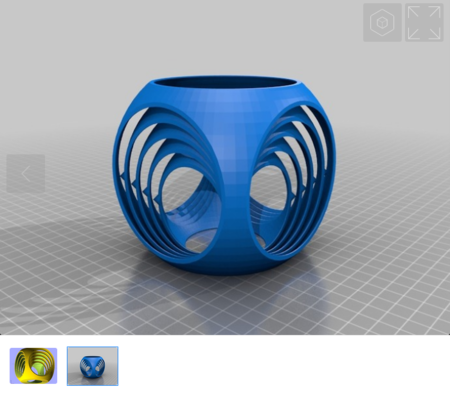
Preassembled secret heart box 3D for print
14990 Views 7 Likes 3 Downloads Download the piece here from 3dforprint
http://www.thingiverse.com/thing:1221494
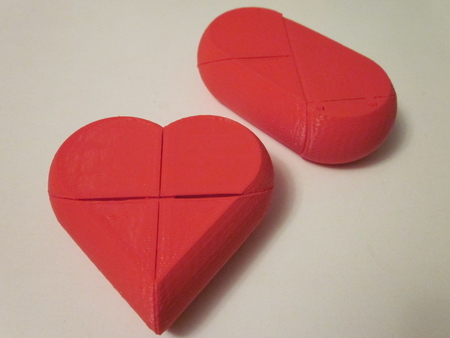
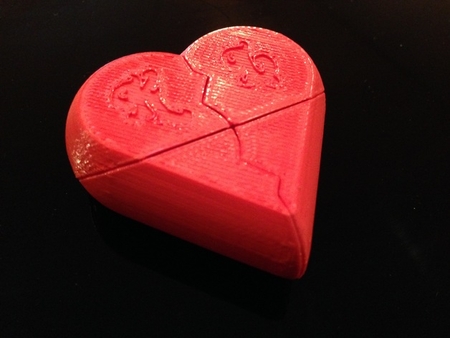
I really enjoyed Eric Young's design of his... Secret Heart Box, but I didn't relish hunting down all the required parts to put it together. One thing I learned from designing the Blossoming Lamp is that it's entirely possible to 3D print complex, preassembled mechanisms without breaking the 45-degree rule. I took it as a challenge to show that it's possible even with something as seemingly complex as this locking heart box. See the video here:
http://youtu.be/PPqLB-bv4gY
UPDATE: By popular demand, I've modified the customizer code so you can now add words to the top of the heart. Make sure your valentine knows it's just for them.
A big Thank You to the good people at Makerbot and the bot farm for printing 100 of these as favors for my wedding. It's good to have a friend with a factory.
Designer
emmett3d model description
UPDATE: I have new a much better version of this design here:http://www.thingiverse.com/thing:1221494
I really enjoyed Eric Young's design of his... Secret Heart Box, but I didn't relish hunting down all the required parts to put it together. One thing I learned from designing the Blossoming Lamp is that it's entirely possible to 3D print complex, preassembled mechanisms without breaking the 45-degree rule. I took it as a challenge to show that it's possible even with something as seemingly complex as this locking heart box. See the video here:
http://youtu.be/PPqLB-bv4gY
UPDATE: By popular demand, I've modified the customizer code so you can now add words to the top of the heart. Make sure your valentine knows it's just for them.
A big Thank You to the good people at Makerbot and the bot farm for printing 100 of these as favors for my wedding. It's good to have a friend with a factory.
