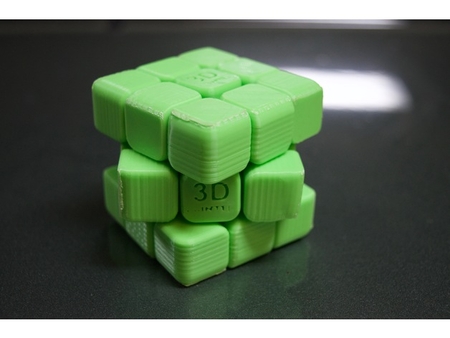
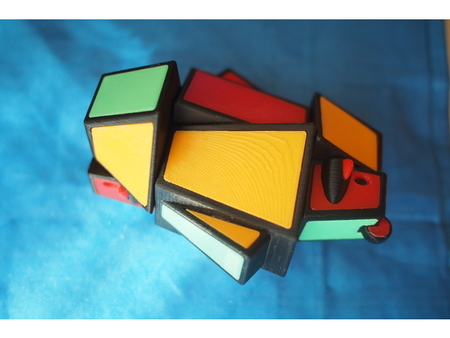
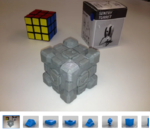
Rubik's companion cube 3D for print


 Rubik's companion cube  3d model for 3d printers

 Rubik's companion cube  3d model for 3d printers
1544 Views 0 Likes 0 Downloads Download

Designer

cazna52

3d model description

UPDATE:
Turkey2Spartan
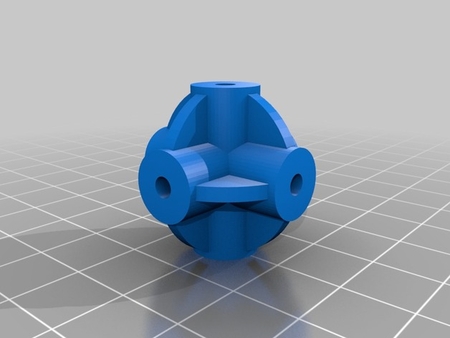
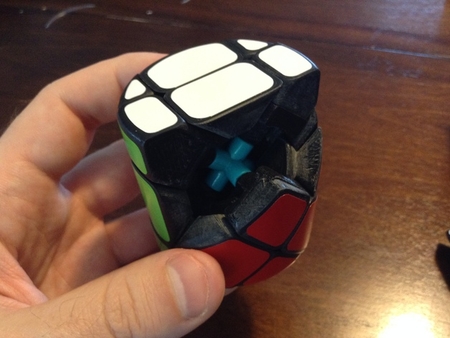
has made a remix of this design with less pieces to glue together and a tighter hub. I haven't tried it yet but am looking fo...rward to trying it soon.

Check out his design at
http://www.thingiverse.com/thing:216017

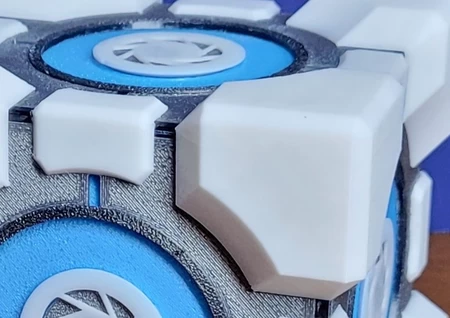
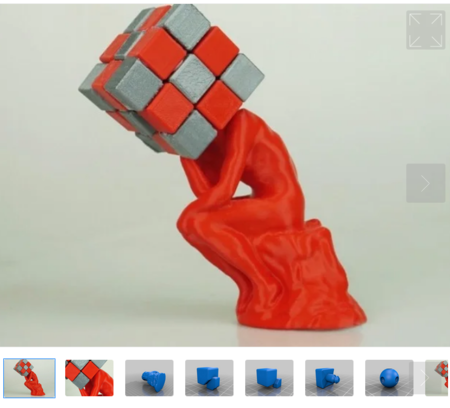
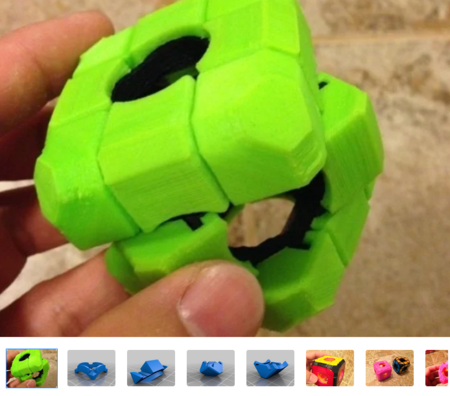
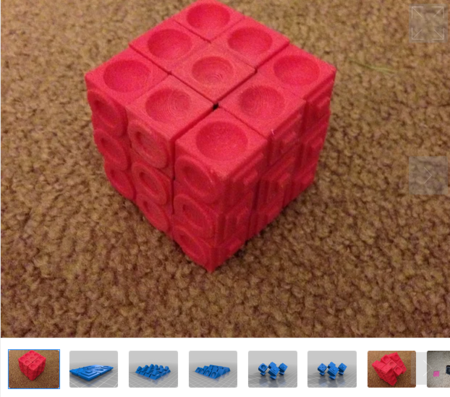
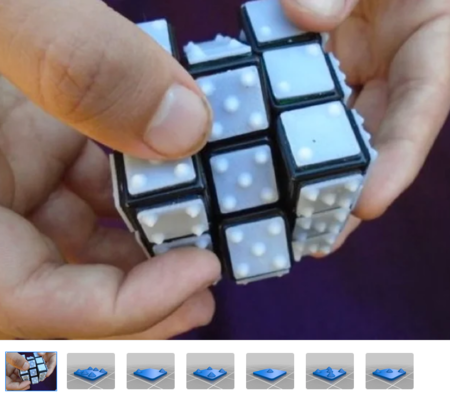
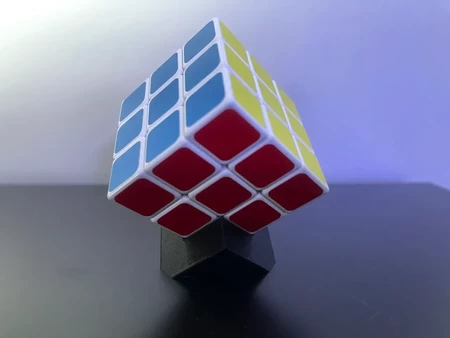
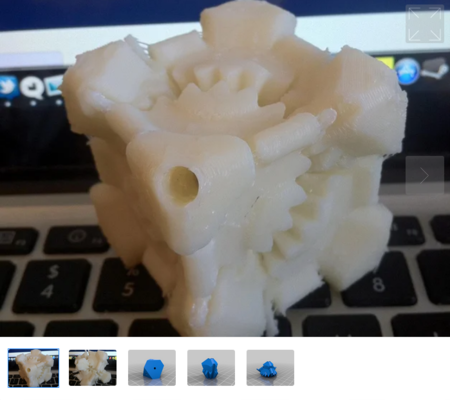
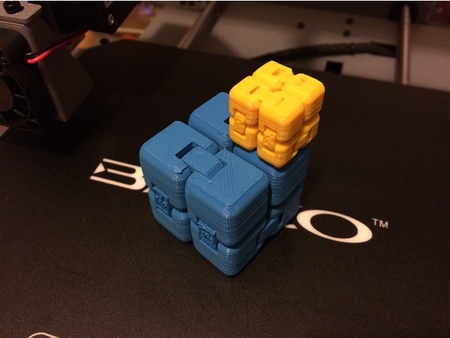
Introducing the Rubik's Companion Cube. More entertaining than a regular companion cube and less dangerous to have around than Wheatley. If solving the cube frustrates you too much you can always humanely euthanize it by dropping it into a giant incinerator.

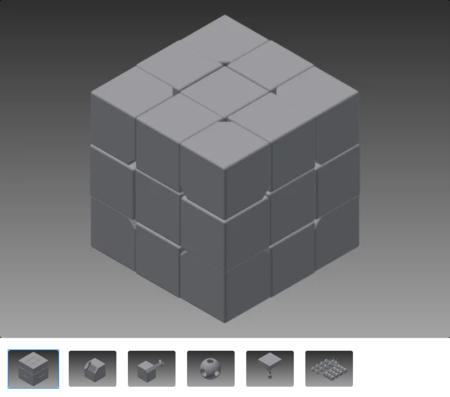
This is just a merge of Poh's companion cube and chapulina's Rubik's cube. Thanks to both for your great designs.


3d model print parameters

Instructions are from chapulina's Rubik's cube. You will need to print. 1 core 8 corners 12 edge_outer 12 edge_inner 6 center_outer 6 center_inner 6 c...enter_core And follow the instructions in here: thingiverse.com/thing:9913 UPDATE: It looks like the page of instructions on chapulina's website is unavailable so I am going to put some basic instructions here. I will make up some instructions with photos when I get the chance but hopefully this will be enough for anyone wanting to get started now. Note: I have been trying to make my cube a bit tighter than chapulina's one. I am currently playing around with a few things but I believe the key is the length of the center_core pieces. If you are feeling adventurous you could try sanding a bit off the small end of the center_core pieces to try to make your cube a bit tighter. Step 1: Take a center_core and place it through a center_inner so that the flared end of the center_core matches to the tapered hole in the center_inner. These parts need to be able to spin freely so give them a twist to make sure they are moving well, if they are not give them a light sand but be sure not to take off too much material as this will make the cube more loose. Step 2: We now need to cap the center_inner with a center_outer. This will make the center_core piece captive but it still needs to be able to spin. Carefully apply acetone or glue to the flat outer surface of the center_inner but don't get any on the center_core. Attach the center_outer and make sure the center_core can still spin. Step 3: Repeat steps 1 and 2 for the remaining pieces. There should be 6 of these assemblies. Step 4: Glue or acetone each edge_outer to each edge_inner. Join on the two large diagonal flat surfaces so that they form a cube. There will be 12 of these assemblies. Step 5: Glue or acetone 5 of the center assemblies from steps 1 and 2 to the core. The small end of the center_core will fit onto the square faces of the core. We want to leave one of these not attached for easier assembly. Step 6: Place the core/center assembly with the unassembled side facing up. Begin filling in the corners and the edge assemblies into the core/center assembly. If your cube is fairly tight you will need to insert them on the unassembled side of the core/center assembly and then rotate them with the center piece into position. When you get to the top layer just place the corner pieces in then put the edges between them. Step 7: You now need to glue the last center assembly onto the core. This will lock the cube together. You should be able to access the last face of the core through the middle of all the corner and edge pieces on the top of your cube. Carefully apply glue or acetone to this face without getting any on the corners or edges. Place some more glue or acetone onto the small end of the center_core and place the center assembly into the cube so that the center_core will attach to the core. Step 8: Give your cube a bit of a twist to make sure everything is working with care not to put too much force on the center/core assembly if the glue is not yet fully dried.

Tags

Aperture Companion cube Portal Rubiks companion cube Rubiks cuberubix cube Weighted companion cube

License

CC Atribution

Related 3d models with tags

Portal Cube ( Weighted / Companion cube ) Corner/Middle Remix

Portal Cube ( Weighted / Companion cube ) Corner/Middle Remix

Fully Printed 3x3 Puzzle

Fully Printed 3x3 Puzzle

(Yet Another) 1x2x2

(Yet Another) 1x2x2

The Thinker / Rubik's Cube

The Thinker / Rubik's Cube

Ozo 1x2x3 Puzzle Bear

Ozo 1x2x3 Puzzle Bear

1x2x3 Rhino puzzle

1x2x3 Rhino puzzle

Crazy 3x3x3 Plus cube (whole original series + 2face series)

Crazy 3x3x3 Plus cube (whole original series + 2face series)

Ekobots - Rubik's Cube

Ekobots - Rubik's Cube

1x2x3 Bumpoid Puzzle

1x2x3 Bumpoid Puzzle

RCP 50mm Trapezoid Edge cube

RCP 50mm Trapezoid Edge cube

Rubiks cube for the blind (using original Rubiks core)

Rubiks cube for the blind (using original Rubiks core)

Single Extruder - Stickerless - Ozo 1x2x3 Puzzle Bear

Single Extruder - Stickerless - Ozo 1x2x3 Puzzle Bear

Rubiks Void Cube

Rubiks Void Cube

Weighted Storage Cube Gears

Weighted Storage Cube Gears

Customizable Rubiks Cube Shapes

Customizable Rubiks Cube Shapes

Cubic 2x2x16

Cubic 2x2x16

Rubik's Cube

Rubik's Cube

Braille rubik's cube

Braille rubik's cube

RCP Barrel X

RCP Barrel X

Helicoptrahedron Puzzle

Helicoptrahedron Puzzle

Calibration Cube

Calibration Cube

Sphere in a Box

Sphere in a Box

X-Cube

X-Cube

Soma Cube & Box

Soma Cube & Box

Tiny Infinity Cube

Tiny Infinity Cube

CUBE puzzle

CUBE puzzle