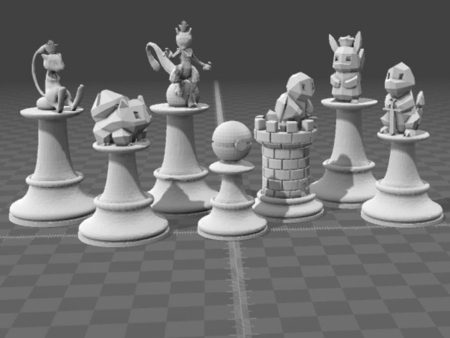
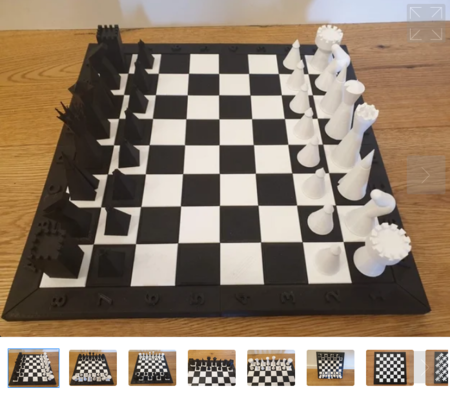
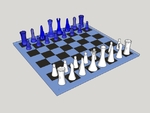
Dead or alive. led chess set 3D for print


1596 Views 2 Likes 2 Downloads Download the piece here from 3dforprint
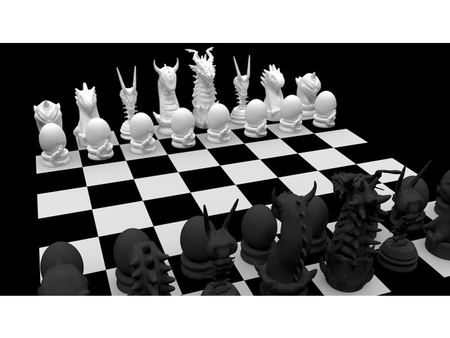
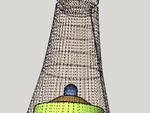
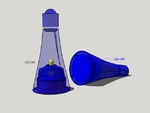
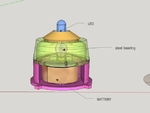
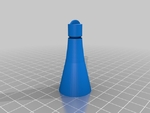
Every piece contai...ns a low-tech 'Gravity Switch' that powers an LED light only when the pieces are upright.
When a piece is taken, or the King resigns, it is reclined and their inner lights goes off. when stored, lights are off.
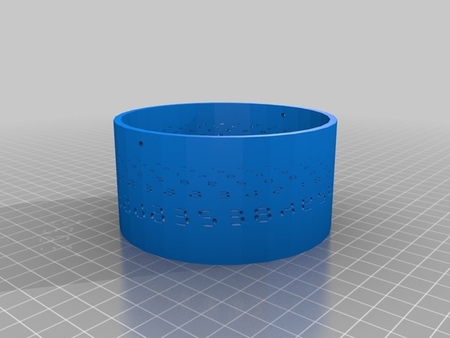
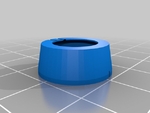
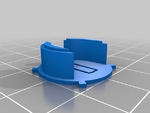
the LED unit is removable and standardized for every piece. it is run by a small battery, which is replaceable.
The entire LED Unit can be swapped out and substituted with pennies, to give the pieces bottom weight and balance.
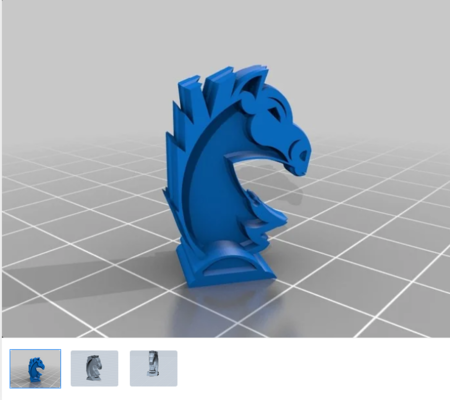
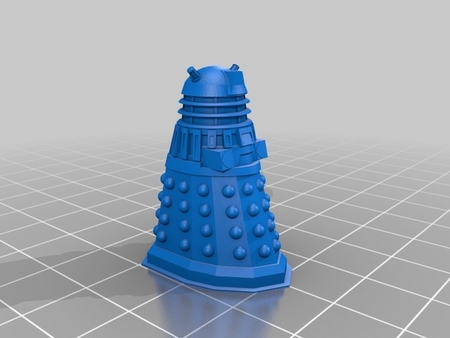
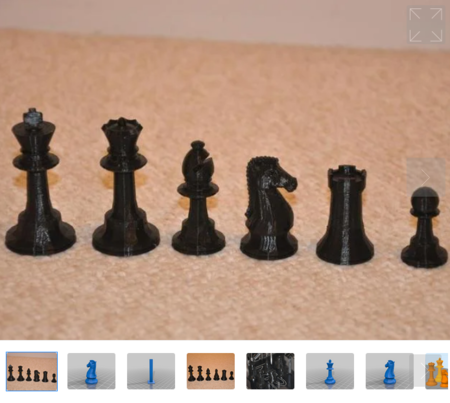
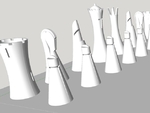
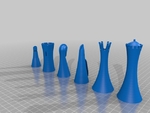
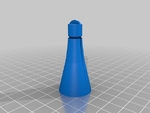
The design of the set is modern and classic at the same time.
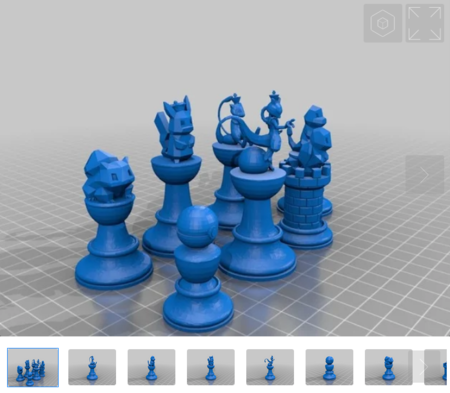
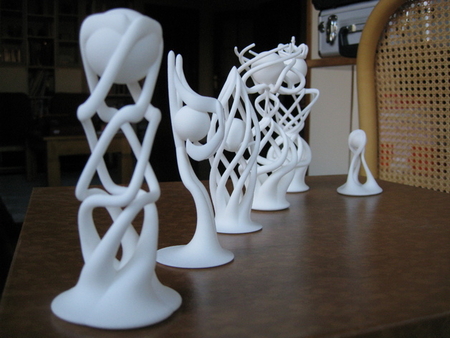
I love some of the modern designs as well as some of the 'thematic' ones, and some are outright gorgeous.
However, one issue that i often see is that they are not easily "playable", because the pieces are not obvious, so it takes some time to "learn" what shapes/character corresponds to what piece, and it might not be intuitive to "see" the situation on the board at a glance, especially for people who would not be using the set frequently.
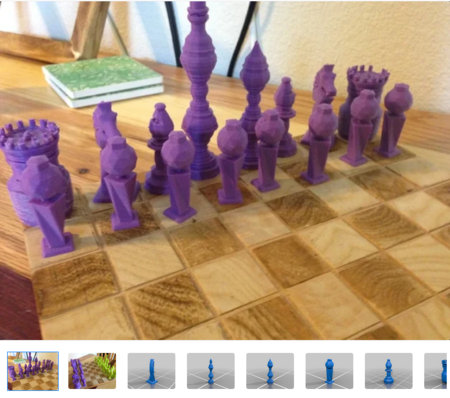
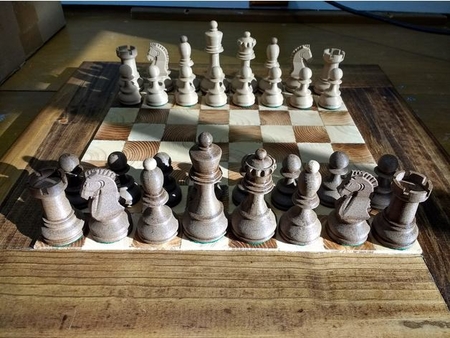
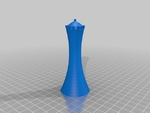
So we wanted to maintain the "classic" look, feel and playability of chess, but with a more modern twist.
Unfortunately our Printrbot Simple has been misbehaving in the last few days, (the fishline drive broke and, after fixing, prints are coming out all slanted and with not enough resolution/accuracy, which is essential to get the Gravity Switch working), so i don't think we will be able to post pictures of the finished product in time, although i will try to at least get one done.
if not, we will update later on.
a first version of all the STL files is uploaded. as i said, we haven't printed them yet, so there might be issues and if needed we will repost a 'fixed' version
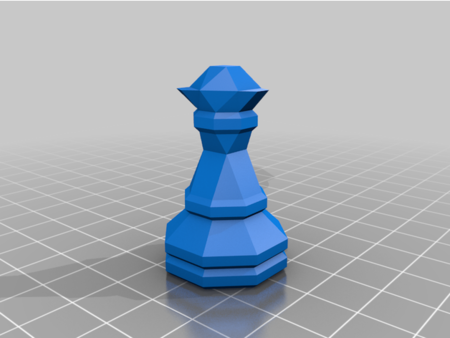
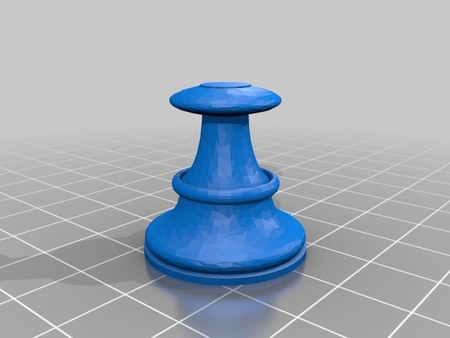
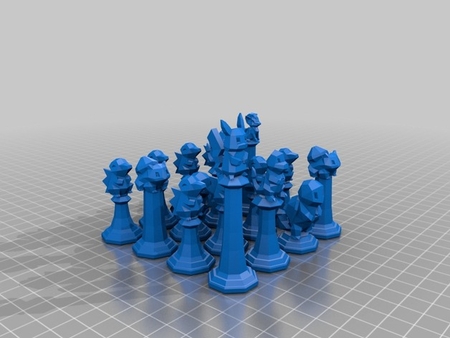
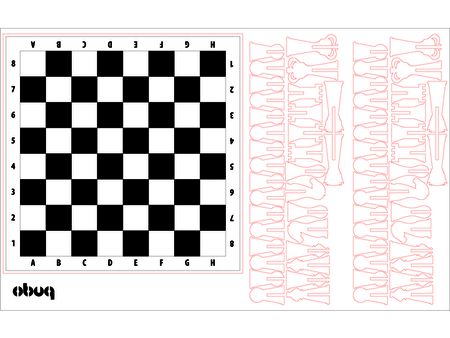
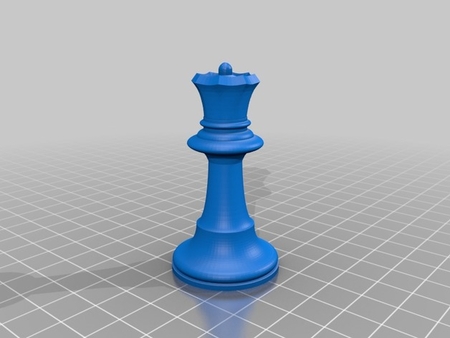
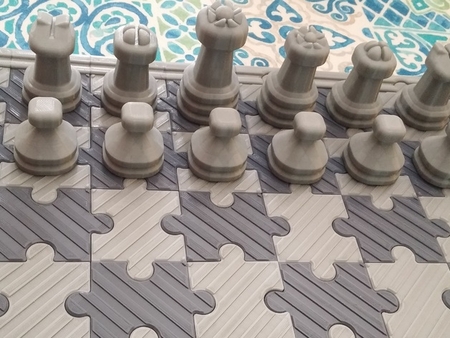
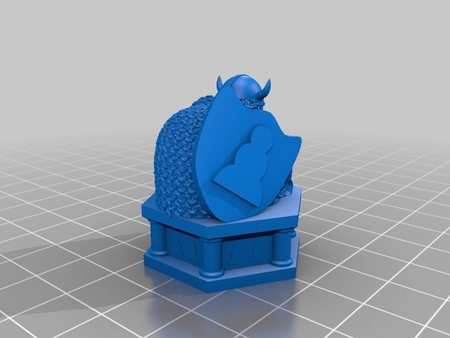
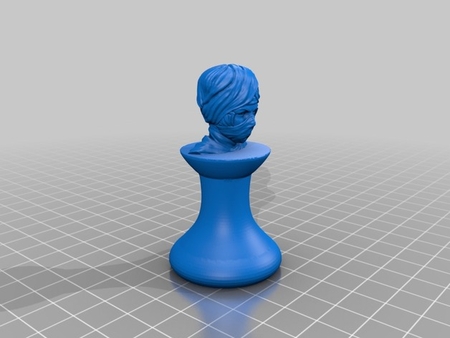
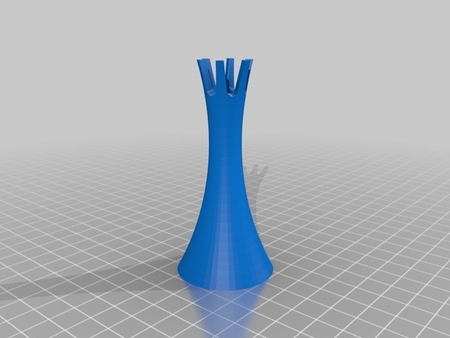
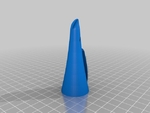
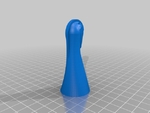
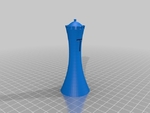
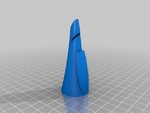
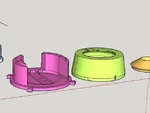
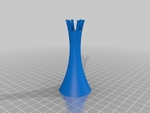
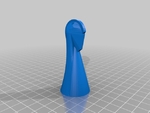
the chess pieces have two separate types:
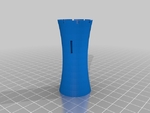
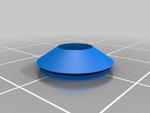
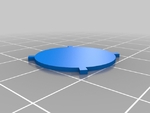
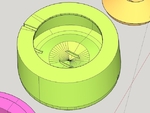
the _base pieces are just normal pieces. they have a chamber in the bottom to hold wight (pennies should fit snug) and a cover to close.
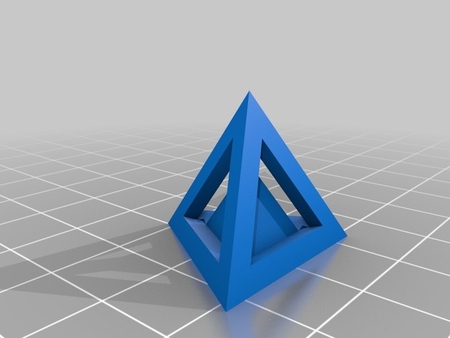
the _LED pieces are designed to host the LED unit.
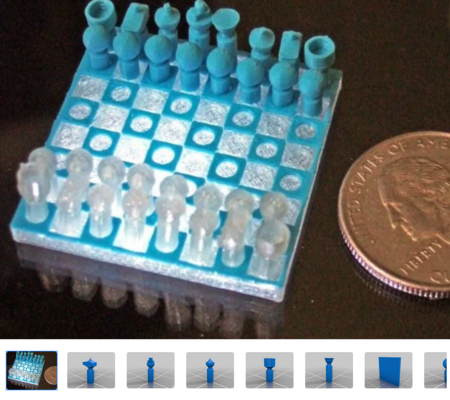
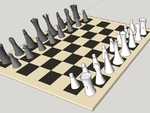
the pieces are sized for a large chessboard.
for smaller ones, they should scale down without much problems
Designer
lucaeale3d model description
This is a modern take on the traditional chess set, tweaked to meet the LightItUp Challenge goals and to make it even cooler ;).Every piece contai...ns a low-tech 'Gravity Switch' that powers an LED light only when the pieces are upright.
When a piece is taken, or the King resigns, it is reclined and their inner lights goes off. when stored, lights are off.
the LED unit is removable and standardized for every piece. it is run by a small battery, which is replaceable.
The entire LED Unit can be swapped out and substituted with pennies, to give the pieces bottom weight and balance.
The design of the set is modern and classic at the same time.
I love some of the modern designs as well as some of the 'thematic' ones, and some are outright gorgeous.
However, one issue that i often see is that they are not easily "playable", because the pieces are not obvious, so it takes some time to "learn" what shapes/character corresponds to what piece, and it might not be intuitive to "see" the situation on the board at a glance, especially for people who would not be using the set frequently.
So we wanted to maintain the "classic" look, feel and playability of chess, but with a more modern twist.
Unfortunately our Printrbot Simple has been misbehaving in the last few days, (the fishline drive broke and, after fixing, prints are coming out all slanted and with not enough resolution/accuracy, which is essential to get the Gravity Switch working), so i don't think we will be able to post pictures of the finished product in time, although i will try to at least get one done.
if not, we will update later on.
a first version of all the STL files is uploaded. as i said, we haven't printed them yet, so there might be issues and if needed we will repost a 'fixed' version
the chess pieces have two separate types:
the _base pieces are just normal pieces. they have a chamber in the bottom to hold wight (pennies should fit snug) and a cover to close.
the _LED pieces are designed to host the LED unit.
the pieces are sized for a large chessboard.
for smaller ones, they should scale down without much problems