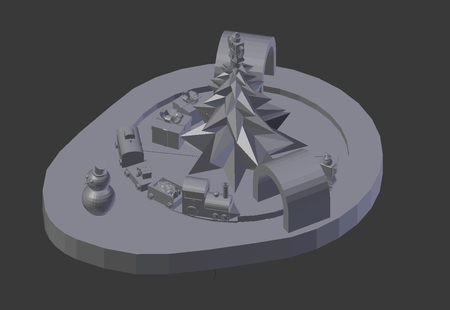
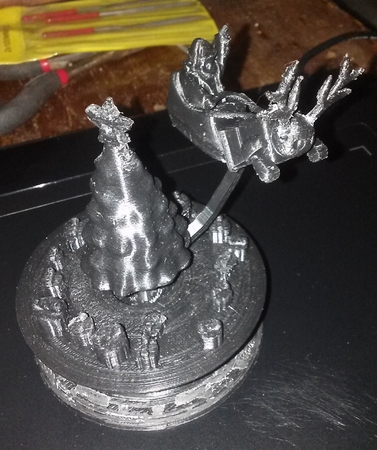
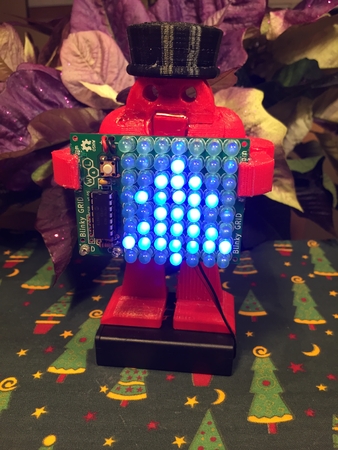
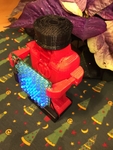
Makey nutcracker ornament with led sign 3D for print


1286 Views 0 Likes 0 Downloads Download
Printing & Assembly:
-Print Makey's body (low infill works best for keeping overall weight down - we recommend 5-15%)
Note: Our main design printed okay, but the jaw action wasn't very smooth due to support material issues in our slicer - please use minimal support material settings for your printer (dependent upon its overhang & bridging abilities) or use dissolvable support material if possible.
-Print the jaw ("cracker" in the Documents section)
-Clean out any support material left inside the jaw opening on the body
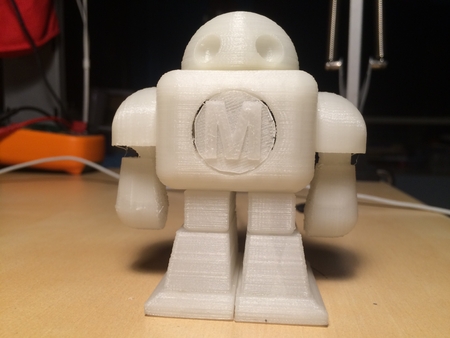
-Slide the jaw into the opening & snap into place in the hinge holes (with the smaller end coming out of the back of the bot)
Optional Electronics & Hangable Hat:
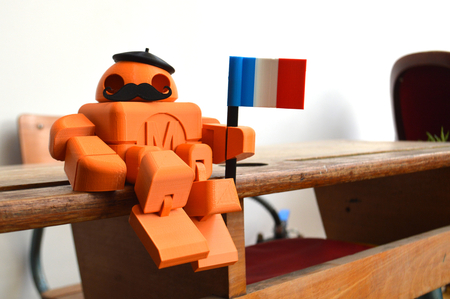
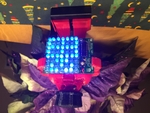
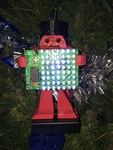
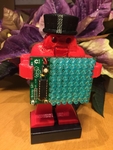
-Print the hat in any color you would like, & glue to the top of Makey's head (this will allow you to hang him from a tree with a hook in the loop of the hat!)
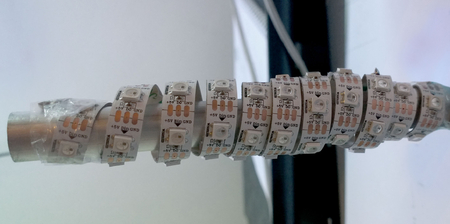
-Obtain and assemble a LED grid kit (from Maker Shed)
Note: Assembly instructions can be found at [http://www.wayneandlayne.com/projects/blinky/build/th/], a guide for first time solderers at [http://mightyohm.com/files/soldercomic/FullSolderComic_EN.pdf], and an easy programming utility at [http://www.wayneandlayne.com/blinky_programmer/].
-Now glue the battery pack to Makey's feet & the circuit board to the desirable height in Makey's hands (Feel free to scale the entire project & integrate your own electronics as well!)
That's It! Please give us feedback / information on how your print turned out in the comments below!
Merry Making from our high school design lab!
-Jaw ("cracker")
Optional:
-Hat
-Wayne & Layne Blinky Grid LED ...Matrix Kit ($12.50 in the Maker Shed!)
Designer
Benjamin Broce3d model description
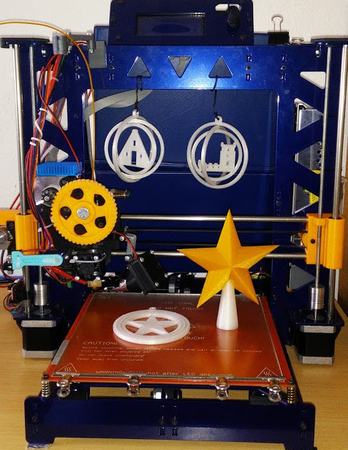
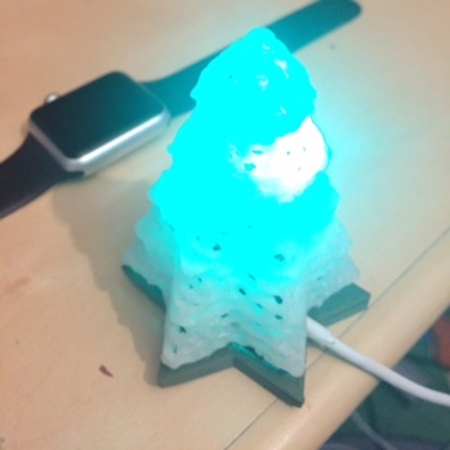
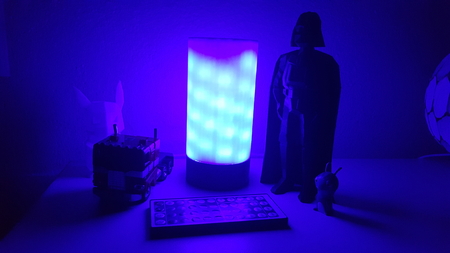
Our entry for the Make/Ultimaker ornament contest (#MakingMerry!). Our ornament is a scratch-designed Makey Bot with a movable nutcracker jaw & tradit...ional hat. It was also designed to hold an LED matrix (available from the Maker Shed). [STL files above appear tiny, we're not sure why... zoom!]Printing & Assembly:
-Print Makey's body (low infill works best for keeping overall weight down - we recommend 5-15%)
Note: Our main design printed okay, but the jaw action wasn't very smooth due to support material issues in our slicer - please use minimal support material settings for your printer (dependent upon its overhang & bridging abilities) or use dissolvable support material if possible.
-Print the jaw ("cracker" in the Documents section)
-Clean out any support material left inside the jaw opening on the body
-Slide the jaw into the opening & snap into place in the hinge holes (with the smaller end coming out of the back of the bot)
Optional Electronics & Hangable Hat:
-Print the hat in any color you would like, & glue to the top of Makey's head (this will allow you to hang him from a tree with a hook in the loop of the hat!)
-Obtain and assemble a LED grid kit (from Maker Shed)
Note: Assembly instructions can be found at [http://www.wayneandlayne.com/projects/blinky/build/th/], a guide for first time solderers at [http://mightyohm.com/files/soldercomic/FullSolderComic_EN.pdf], and an easy programming utility at [http://www.wayneandlayne.com/blinky_programmer/].
-Now glue the battery pack to Makey's feet & the circuit board to the desirable height in Makey's hands (Feel free to scale the entire project & integrate your own electronics as well!)
That's It! Please give us feedback / information on how your print turned out in the comments below!
Merry Making from our high school design lab!
3d model print parameters
-Makey Body (this & all other print files can be found in the "Documents" section)-Jaw ("cracker")
Optional:
-Hat
-Wayne & Layne Blinky Grid LED ...Matrix Kit ($12.50 in the Maker Shed!)