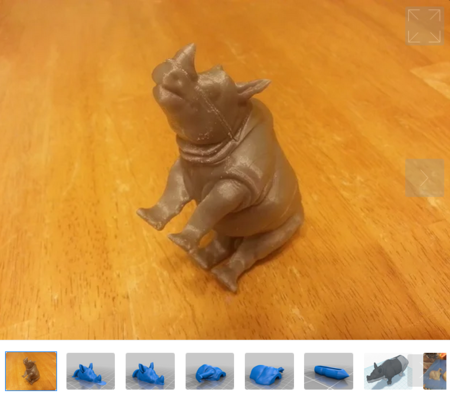
1x2x3 rhino puzzle 3D for print
8647 Views 2 Likes 0 Downloads Download the piece here from 3dforprint
I imported it into Tinkercad along with the snap pin holes and started slicing and dicing.
After discussing the design with my boys, we settled on splitting up the legs to make the orientations more interesting. Being 5 and 9, their favorite part of playing with this puzzle is making it "smell its own butt".
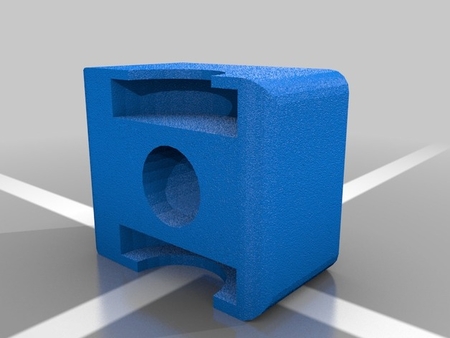
Realizing that the legs would need support and that if you print the middle pieces with support, it would make for a fun time of cleaning out the holes, I decided to design some custom support for those pieces so that you do not need to use your slicer's support.
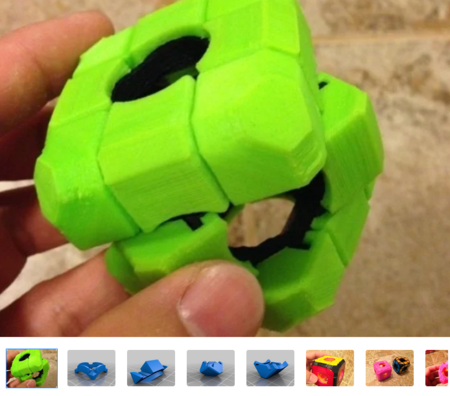
It turned out quite well. looks great and turns easily. As a twist (bad pun intended) we decided to rotate the way that the head is sliced.
Designer
joefe3d model description
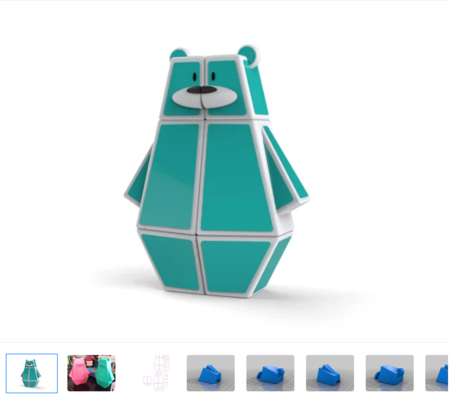
I've always been fond of rubik style puzzles and had always planned on designing one of my own. I printed the cute Ozo 1x2x3 puzzle bear for my daught...er the other day, which she loved, but this created a problem for my boys. They wanted one, but wanted it to be a different animal. I have grown fond of being able to show my kids that 3D printing offers me the ability to create customized objects and toys, so I accepted the challenge. We went looking through thingiverse looking for animal models to start with while discussing what animal they wanted. We settled on the Rhino model by YahooJapan and I started working.I imported it into Tinkercad along with the snap pin holes and started slicing and dicing.
After discussing the design with my boys, we settled on splitting up the legs to make the orientations more interesting. Being 5 and 9, their favorite part of playing with this puzzle is making it "smell its own butt".
Realizing that the legs would need support and that if you print the middle pieces with support, it would make for a fun time of cleaning out the holes, I decided to design some custom support for those pieces so that you do not need to use your slicer's support.
It turned out quite well. looks great and turns easily. As a twist (bad pun intended) we decided to rotate the way that the head is sliced.
