3d-printable glidecam 3D for print
2185 Views 2 Likes 0 Downloads Download the piece here from 3dforprint
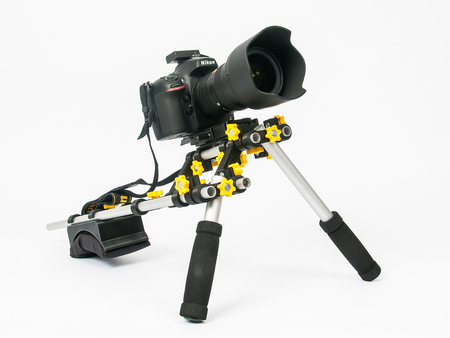
My 3D-printed Glidecam! It's a much ...more economic alternative to the commercial ones, but works just as well (personal opinion). The parts were designed with functionality (and not so much with printabilitiy) in mind, so many of them require support material (or have support material built-in). Nothing too hard, though, as there are all pretty massive parts from which the support material easily peels off. Use a thick shell and high infill (2mm and 40% recommended), especially for the parts of the gimbal. The lower rail parts can be printed lighter, as they only need to be stiff, but don't have to bear much load.
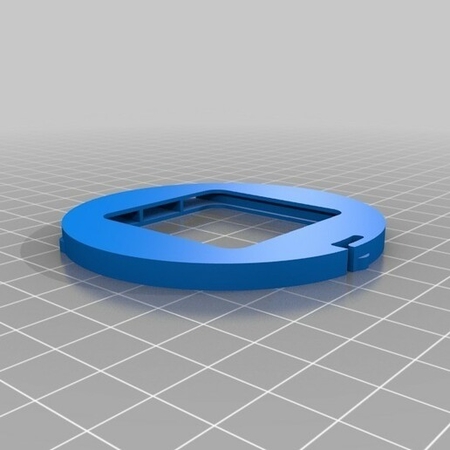
The 6005 bearing is clamped to the 20mm tube with the three-part inlay. You might need to file the inside and outside of each inlay part to fit. Make sure the threads line up when assembling. Insert the inlay into the bearing first, then slide the tube through. For the 608 bearings, i heated them up until they started smoking (don't do this if you have a baring with rubber seals), then pressed them into the plastic parts. Less temperature is needed if you print in PLA :-) If you're confident about the strength of your parts, you can also press them in cold (ABS or Nylon only). If you've printed the parts in ABS, you could also soften them in acetone vapor before pressing in the bearings (untested). Let me know if none of these methods work for you, i'll adapt the parts to a less tight fit.
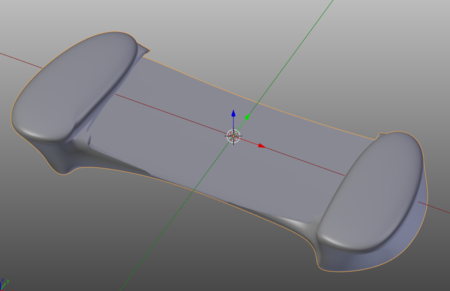
The crown is glued (epoxy'd) into the top of the extending 15mm tube to stabilize it inside the larger tube. A short piece of 20x1mm tube needs to be glued to the handle part. The bike grips are also not perfectly tight on there (handlebars are ~22mm), so a drop of superglue can't hurt there. You can use shorter tubes for the lower rail, but the shorter you make them, the more sensitive the glidecam will be to rotation, so that's only recommended if you're not using a light camera without counterweights. The extension tube can also be shortened if you're running out of 15mm tubes, but the longer you keep it, the more solid it's going to be.
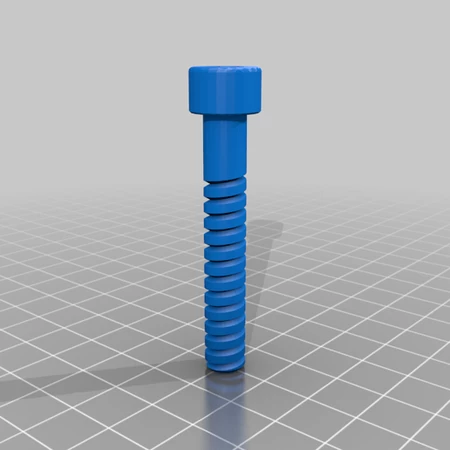
Use threadlock to secure all bolts, especially the ones that hold the bearings in place. You can adjust the bearing drag by adjusting the pre-tensioning of the bolts. The sides of the center bearing mount and the front of the gimbal arm need to be tapped for M8. The grip part will need a M8 nut on the other side of the bearings (not shown).
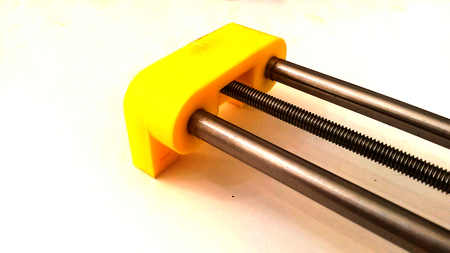
I'm not quite happy with the lower extension clamp yet. The v2 version (lower rail set and jamnut) uses a similar mechanism to the top bearing holder, but has tapered finger-nuts. v1 clamps much better, but introduces some stabilization issues because the bolts are off-center.
As far as balancing the whole thing goes, there are plenty of guides available on Youtube for Glidecams, and this one works exactly the same. The 3-second-rule is pretty helpful, make it faster to get better self-leveling, tune it to slower values to keep the rig from tilting as you move it around.
All stl files are already oriented for best results, those that have an "s" at the beginning of their filename require support material. The .zip contains the Solidworks source files - some of the parts in the assembly are from the toolbox, so i'm not sure how well those will show on other installations.
- Four 608 skateboard bearings (e.g. http://goo.gl/U2KCTp )
- One 600...5 bearing
- 2pc 450mm (or less) 15mm aluminum tube (lower rail)
- 400mm (or less) 15mm aluminum tube (extension tube)
- 300mm 20x1mm aluminum tube (main tube)
- 140mm 20x1mm aluminum tube (grip)
- Two LP-01 macro sliders for a "4 way" configuration (e.g. http://goo.gl/VgClXb )
- One 1/4-20 UNC 3/4 screw
- A couple short pieces of M8 threaded rod or equivalent screws and nuts
- Six M3 x ~20 screws, cap head and six nuts
- A couple of M8 fender washers as counterweights
- One or two bike grips
Designer
Thomas Sanladerer3d model description
Need a handheld video-camera stabilizer, but the ready-made ones aren't what you're looking for? Just print one!My 3D-printed Glidecam! It's a much ...more economic alternative to the commercial ones, but works just as well (personal opinion). The parts were designed with functionality (and not so much with printabilitiy) in mind, so many of them require support material (or have support material built-in). Nothing too hard, though, as there are all pretty massive parts from which the support material easily peels off. Use a thick shell and high infill (2mm and 40% recommended), especially for the parts of the gimbal. The lower rail parts can be printed lighter, as they only need to be stiff, but don't have to bear much load.
The 6005 bearing is clamped to the 20mm tube with the three-part inlay. You might need to file the inside and outside of each inlay part to fit. Make sure the threads line up when assembling. Insert the inlay into the bearing first, then slide the tube through. For the 608 bearings, i heated them up until they started smoking (don't do this if you have a baring with rubber seals), then pressed them into the plastic parts. Less temperature is needed if you print in PLA :-) If you're confident about the strength of your parts, you can also press them in cold (ABS or Nylon only). If you've printed the parts in ABS, you could also soften them in acetone vapor before pressing in the bearings (untested). Let me know if none of these methods work for you, i'll adapt the parts to a less tight fit.
The crown is glued (epoxy'd) into the top of the extending 15mm tube to stabilize it inside the larger tube. A short piece of 20x1mm tube needs to be glued to the handle part. The bike grips are also not perfectly tight on there (handlebars are ~22mm), so a drop of superglue can't hurt there. You can use shorter tubes for the lower rail, but the shorter you make them, the more sensitive the glidecam will be to rotation, so that's only recommended if you're not using a light camera without counterweights. The extension tube can also be shortened if you're running out of 15mm tubes, but the longer you keep it, the more solid it's going to be.
Use threadlock to secure all bolts, especially the ones that hold the bearings in place. You can adjust the bearing drag by adjusting the pre-tensioning of the bolts. The sides of the center bearing mount and the front of the gimbal arm need to be tapped for M8. The grip part will need a M8 nut on the other side of the bearings (not shown).
I'm not quite happy with the lower extension clamp yet. The v2 version (lower rail set and jamnut) uses a similar mechanism to the top bearing holder, but has tapered finger-nuts. v1 clamps much better, but introduces some stabilization issues because the bolts are off-center.
As far as balancing the whole thing goes, there are plenty of guides available on Youtube for Glidecams, and this one works exactly the same. The 3-second-rule is pretty helpful, make it faster to get better self-leveling, tune it to slower values to keep the rig from tilting as you move it around.
All stl files are already oriented for best results, those that have an "s" at the beginning of their filename require support material. The .zip contains the Solidworks source files - some of the parts in the assembly are from the toolbox, so i'm not sure how well those will show on other installations.
3d model print parameters
- ~500g of filament, any plastic works as long as it's not a flexible filament- Four 608 skateboard bearings (e.g. http://goo.gl/U2KCTp )
- One 600...5 bearing
- 2pc 450mm (or less) 15mm aluminum tube (lower rail)
- 400mm (or less) 15mm aluminum tube (extension tube)
- 300mm 20x1mm aluminum tube (main tube)
- 140mm 20x1mm aluminum tube (grip)
- Two LP-01 macro sliders for a "4 way" configuration (e.g. http://goo.gl/VgClXb )
- One 1/4-20 UNC 3/4 screw
- A couple short pieces of M8 threaded rod or equivalent screws and nuts
- Six M3 x ~20 screws, cap head and six nuts
- A couple of M8 fender washers as counterweights
- One or two bike grips
