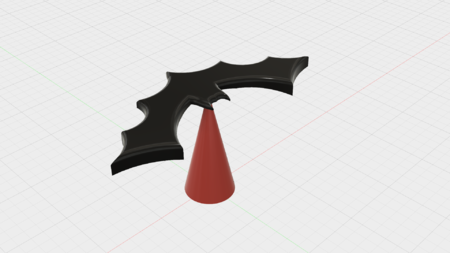
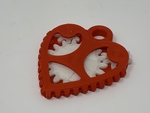
Orientado mensaje corazón colgante en 3D para imprimir
22123 Visualizaciones 1 Me gusta 0 Descargas realizadas Descarga aqui la pieza desde 3dforprint
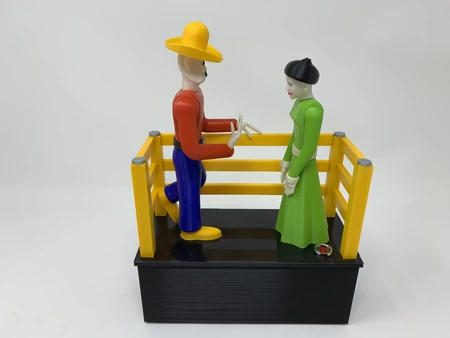
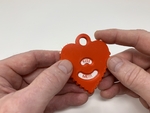
Orientado Mensaje Corazón Colgante es un poco tarde para este Día de san valentín, y es... muy temprano para el próximo Día de san valentín, en tanto es una gran manera de expresar tus sentimientos a tu con quien sea!
Inspirado por un CAD tutorial que aparece en uno de mis sugerencias de fuentes de vídeo (el modelo CAD que aparecen en el tutorial fue muy elegante, pero fue solo un modelo y que no está diseñada para la impresión en 3D o la asamblea), este modelo es fácil para la impresión 3D y montar.
Como de costumbre, probablemente olvidó de un archivo o dos o quién sabe qué otra cosa, así que si usted tiene alguna pregunta, por favor no dude en punto como me hacen errores en la abundancia.
Diseñado utilizando Autodesk Fusion 360, rodajas de uso de Cura 3.5.1, e impresas en PLA en una Ultimaker 2+ Extendida y una Ultimaker 3 Extendida.
He impreso a cada uno de todos los impresos en 3D de piezas en .1 mm de altura de capa con el 50% de relleno.
Ante...s de la asamblea, de la prueba de ajuste y recorte presentado, lijado, etc. todas las piezas que sean necesarias para el movimiento suave de las superficies en movimiento, y ajuste apretado para no mover las superficies. Si usted decide hacer su propio Orientado Corazón de Mensaje Pendiente, dependiendo de los colores que elegiste, el modelo de su impresora y su configuración de la impresora, más o menos cortar, limar y/o lijado puede ser requerido. Yo cuidadosamente presentada todos los bordes que estaban en contacto con la placa de construcción para hacer absolutamente seguro de que todos placa de construcción "cieno" fue quitado y que todos los bordes eran suaves. He utilizado los pequeños joyeros archivos y un montón de paciencia para realizar este paso.
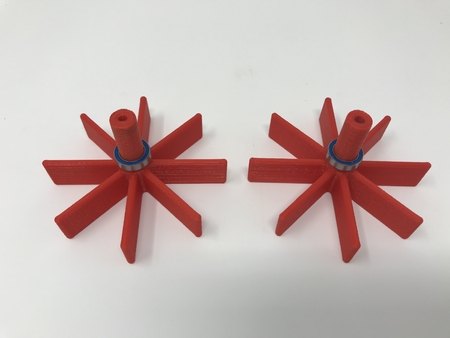
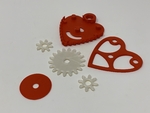
Preparar El "Engranaje Grande.stl".
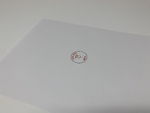
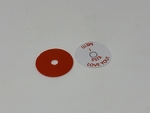
Con el fin de evitar un doble extrusión de impresión para los mensajes, me decidí a 2D imprimirlas en papel de copia estándar, a continuación, pegue el 2D mensajes impresos para "Engranaje, de Gran tamaño.stl". Después de experimentar con un par de programas de dibujo, me di cuenta de que podía obtener la información más precisa el tamaño y la colocación de los mensajes a través de (de todas las cosas) de 2011 de Microsoft Office Power Point. Una vez que el diseño se completa, el resultado "mensaje de imagen de disco" fue guardado como "KissMeILoveYou.pdf" (para aquellos interesados en crear su propio mensaje de imágenes de disco, el mensaje de texto se centra en dos diámetros, el exterior son de 25 mm, y en el interior de 11 mm). Después de guardar el archivo, lo he abierto con el MacBook "vista previa" de la aplicación a continuación, se imprime en una impresora láser en una escala del 100% (que podría haber impreso el mensaje de la imagen de disco directamente desde Power Point, pero yo necesitaba para probar la exactitud de la .La conversión de archivos PDF y de la impresión, ya que yo estaba bastante seguro de que nadie, pero a mí todavía utiliza 2011 de Microsoft Office Power Point).
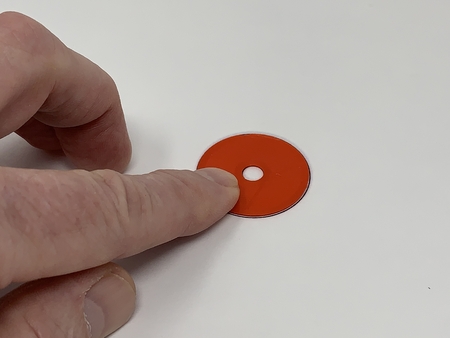
Después de la impresión KissMeILoveYou.pdf, he posicionado "Recorte de Disco.stl" en el centro exacto del mensaje de imagen de disco en la impresión, a continuación, utiliza un fuerte modelado cuchillo para cortar cuidadosamente el mensaje de la imagen de disco a partir de la impresión utilizando el recorte de disco como una guía.
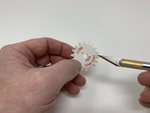
Después de cortar el mensaje de la imagen de disco, he aplicado el pegamento (yo usé una barra de pegamento) a la parte de atrás del mensaje de imagen de disco y pulsa en el centro de la "rueda dentada, de Gran tamaño.stl" lo mantiene en su lugar por unos momentos, para permitir que el pegamento se fije.
Después de que el pegamento conjunto, he quitado el agujero del centro del mensaje de imagen de disco con un cuchillo de modelado cuchillo.
Montaje y Prueba.
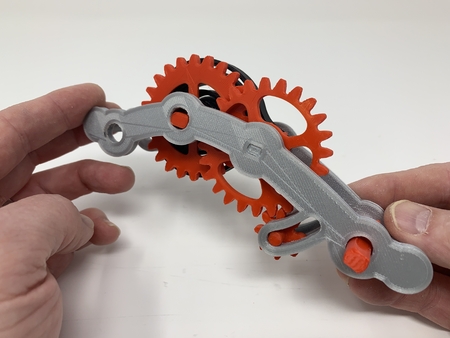
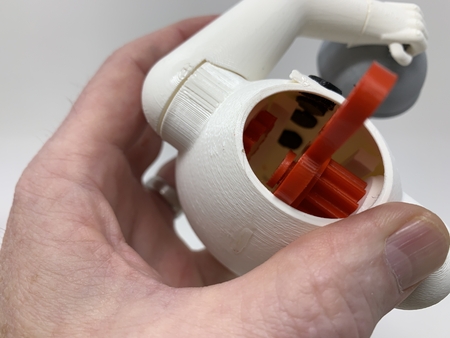
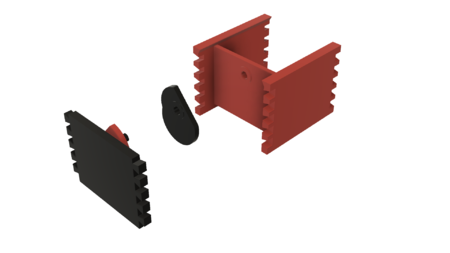
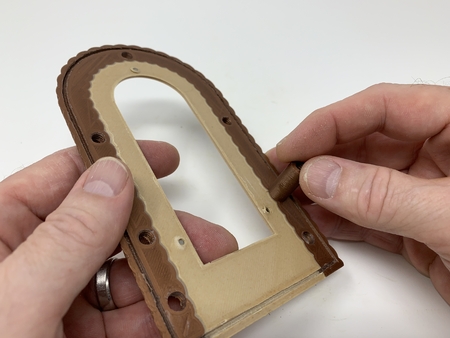
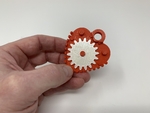
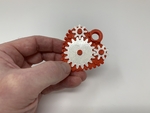
Comencé asamblea de mi Orientado Mensaje Corazón Colgante colocando el gran engranaje de la asamblea en el centro de pin en el "Caso, de Frente.stl", mensaje lado del disco hacia abajo.
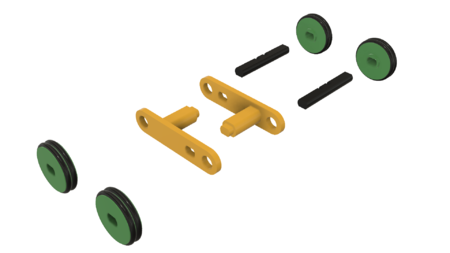
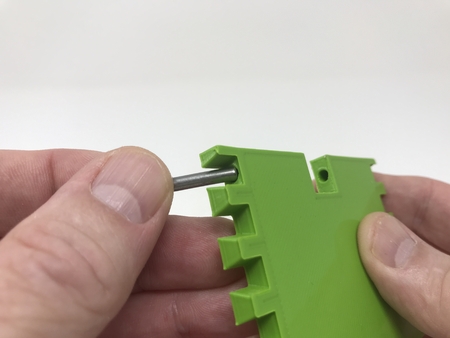
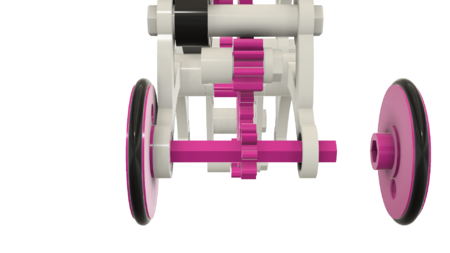
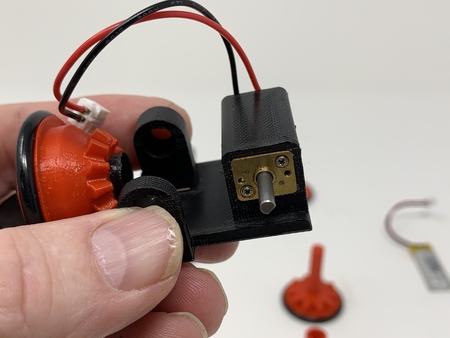
A continuación, he puesto "Engranaje Pequeño 1.stl" en la esquina superior izquierda de la clavija en el caso, seguido de "Engranaje Pequeño 2.stl" en la esquina superior derecha de pin en el caso.
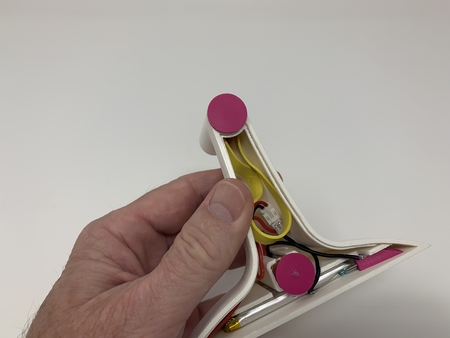
En este punto he probado el mecanismo para asegurarse de que operan libremente.
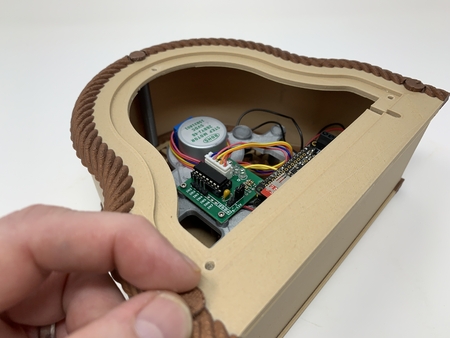
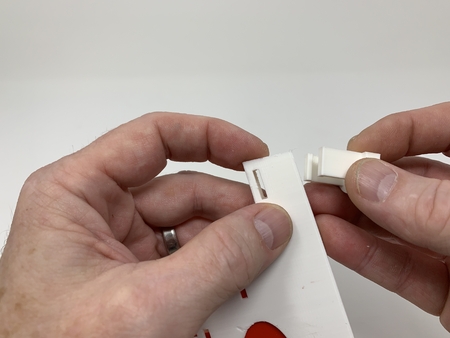
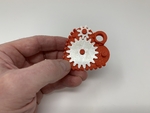
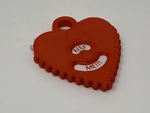
Por último, me espetó "Caso, de la parte Trasera.stl" en la asamblea.
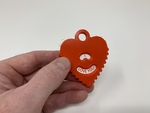
Una vez montado, gire cualquiera de los pequeños engranajes para cambiar el mensaje.
Y así es como lo tengo impreso y montado mi Orientado Corazón de Mensajes Pendientes.
Diseñador
Greg ZumwaltDescripción del modelo 3d
Un motorreductor de colgante de corazón con dos mensajes.Orientado Mensaje Corazón Colgante es un poco tarde para este Día de san valentín, y es... muy temprano para el próximo Día de san valentín, en tanto es una gran manera de expresar tus sentimientos a tu con quien sea!
Inspirado por un CAD tutorial que aparece en uno de mis sugerencias de fuentes de vídeo (el modelo CAD que aparecen en el tutorial fue muy elegante, pero fue solo un modelo y que no está diseñada para la impresión en 3D o la asamblea), este modelo es fácil para la impresión 3D y montar.
Como de costumbre, probablemente olvidó de un archivo o dos o quién sabe qué otra cosa, así que si usted tiene alguna pregunta, por favor no dude en punto como me hacen errores en la abundancia.
Diseñado utilizando Autodesk Fusion 360, rodajas de uso de Cura 3.5.1, e impresas en PLA en una Ultimaker 2+ Extendida y una Ultimaker 3 Extendida.
Parametros de impresión 3d
Imprimir y Preparar las Piezas.He impreso a cada uno de todos los impresos en 3D de piezas en .1 mm de altura de capa con el 50% de relleno.
Ante...s de la asamblea, de la prueba de ajuste y recorte presentado, lijado, etc. todas las piezas que sean necesarias para el movimiento suave de las superficies en movimiento, y ajuste apretado para no mover las superficies. Si usted decide hacer su propio Orientado Corazón de Mensaje Pendiente, dependiendo de los colores que elegiste, el modelo de su impresora y su configuración de la impresora, más o menos cortar, limar y/o lijado puede ser requerido. Yo cuidadosamente presentada todos los bordes que estaban en contacto con la placa de construcción para hacer absolutamente seguro de que todos placa de construcción "cieno" fue quitado y que todos los bordes eran suaves. He utilizado los pequeños joyeros archivos y un montón de paciencia para realizar este paso.
Preparar El "Engranaje Grande.stl".
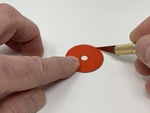
Con el fin de evitar un doble extrusión de impresión para los mensajes, me decidí a 2D imprimirlas en papel de copia estándar, a continuación, pegue el 2D mensajes impresos para "Engranaje, de Gran tamaño.stl". Después de experimentar con un par de programas de dibujo, me di cuenta de que podía obtener la información más precisa el tamaño y la colocación de los mensajes a través de (de todas las cosas) de 2011 de Microsoft Office Power Point. Una vez que el diseño se completa, el resultado "mensaje de imagen de disco" fue guardado como "KissMeILoveYou.pdf" (para aquellos interesados en crear su propio mensaje de imágenes de disco, el mensaje de texto se centra en dos diámetros, el exterior son de 25 mm, y en el interior de 11 mm). Después de guardar el archivo, lo he abierto con el MacBook "vista previa" de la aplicación a continuación, se imprime en una impresora láser en una escala del 100% (que podría haber impreso el mensaje de la imagen de disco directamente desde Power Point, pero yo necesitaba para probar la exactitud de la .La conversión de archivos PDF y de la impresión, ya que yo estaba bastante seguro de que nadie, pero a mí todavía utiliza 2011 de Microsoft Office Power Point).
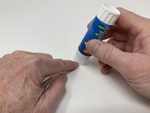
Después de la impresión KissMeILoveYou.pdf, he posicionado "Recorte de Disco.stl" en el centro exacto del mensaje de imagen de disco en la impresión, a continuación, utiliza un fuerte modelado cuchillo para cortar cuidadosamente el mensaje de la imagen de disco a partir de la impresión utilizando el recorte de disco como una guía.
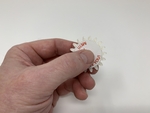
Después de cortar el mensaje de la imagen de disco, he aplicado el pegamento (yo usé una barra de pegamento) a la parte de atrás del mensaje de imagen de disco y pulsa en el centro de la "rueda dentada, de Gran tamaño.stl" lo mantiene en su lugar por unos momentos, para permitir que el pegamento se fije.
Después de que el pegamento conjunto, he quitado el agujero del centro del mensaje de imagen de disco con un cuchillo de modelado cuchillo.
Montaje y Prueba.
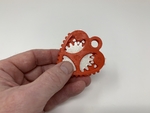
Comencé asamblea de mi Orientado Mensaje Corazón Colgante colocando el gran engranaje de la asamblea en el centro de pin en el "Caso, de Frente.stl", mensaje lado del disco hacia abajo.
A continuación, he puesto "Engranaje Pequeño 1.stl" en la esquina superior izquierda de la clavija en el caso, seguido de "Engranaje Pequeño 2.stl" en la esquina superior derecha de pin en el caso.
En este punto he probado el mecanismo para asegurarse de que operan libremente.
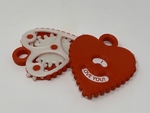
Por último, me espetó "Caso, de la parte Trasera.stl" en la asamblea.
Una vez montado, gire cualquiera de los pequeños engranajes para cambiar el mensaje.
Y así es como lo tengo impreso y montado mi Orientado Corazón de Mensajes Pendientes.