Ultimaker xy axis square 3D for print
10225 Views 1 Likes 0 Downloads Download the piece here from 3dforprint
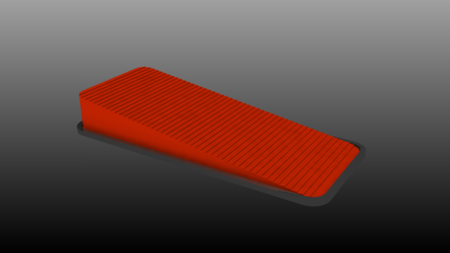
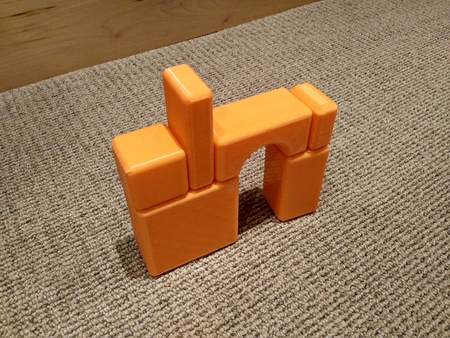
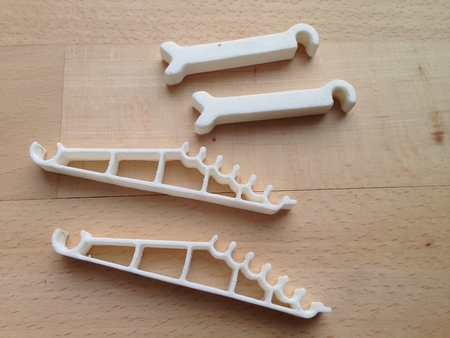
The key to these being effective, is for them to be identical in length. I prefer to print one at a time, back to back, with identical settings for temp, flow, fan, speed, etc. The part tapers at the top and bottom to make sure that the contact areas are mid-print when things have settled down. I think that 0.2mm layers works well and 30% infill was enough for me. Print with a filament that extrudes well in your machine, and go fairly slow for accuracy.
I added a small flat in the "V" end to allow measuring the length of the arm with calipers. I also usually take a utility blade to each end scraping (not cutting) lightly across the contact surfaces to knock down any outlier layers and bring them more inline with each other. You want very repeatable, even layers for this part to be of help. My arms measure within 0.02mm of one another, in length.
You can make things much easier on yourself, if with these arms in place, you loosen your belt tension and align the set screw(s) on the pulleys of the axis you are working on, so that they are easily accessible.
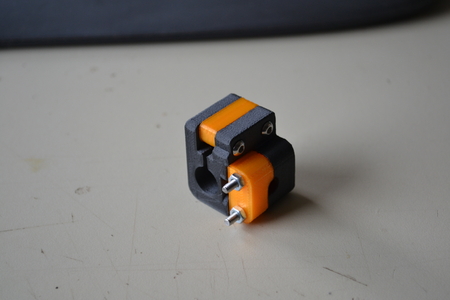
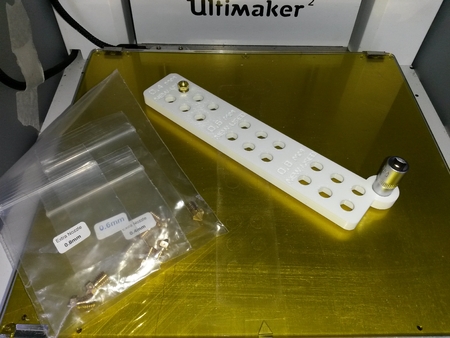
Snap these onto either side of a 6mm shaft, at the very ends, near the XY blocks.
Align the other ends with the 8mm shaft. Pull at each end of the 6mm shaft until the alignment arms contact the 8mm shaft and center against it.
Then use the associated stepper (by hand) to back the rod away, then make light contact again.
While holding light torque on that stepper (or the shaft it drives), wiggle each arm up and down. Ideally, both should be tight. If one wiggles, that is the one in need of adjustment.
Loosen both pulleys that connect to the belt holding that particular XY block.
While pulling that XY block towards the calibration arm (loading it against the 8mm shaft), tighten the pulleys.
Repeat the first test and tweak until both arms are snug.
Designer
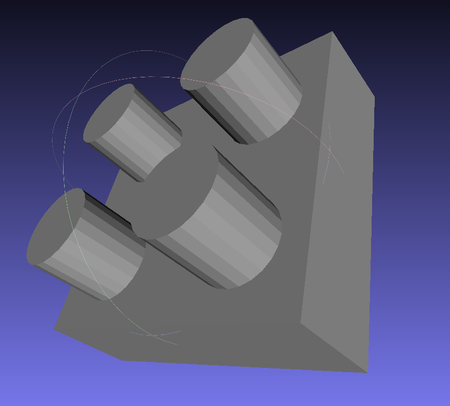
CCS863d model description
These little arms are a big help in squaring your 6mm shafts (that support the print head) to the perimeter 8mm shafts. This helps to keep friction do...wn and ensure motion accuracy.The key to these being effective, is for them to be identical in length. I prefer to print one at a time, back to back, with identical settings for temp, flow, fan, speed, etc. The part tapers at the top and bottom to make sure that the contact areas are mid-print when things have settled down. I think that 0.2mm layers works well and 30% infill was enough for me. Print with a filament that extrudes well in your machine, and go fairly slow for accuracy.
I added a small flat in the "V" end to allow measuring the length of the arm with calipers. I also usually take a utility blade to each end scraping (not cutting) lightly across the contact surfaces to knock down any outlier layers and bring them more inline with each other. You want very repeatable, even layers for this part to be of help. My arms measure within 0.02mm of one another, in length.
You can make things much easier on yourself, if with these arms in place, you loosen your belt tension and align the set screw(s) on the pulleys of the axis you are working on, so that they are easily accessible.
Snap these onto either side of a 6mm shaft, at the very ends, near the XY blocks.
Align the other ends with the 8mm shaft. Pull at each end of the 6mm shaft until the alignment arms contact the 8mm shaft and center against it.
Then use the associated stepper (by hand) to back the rod away, then make light contact again.
While holding light torque on that stepper (or the shaft it drives), wiggle each arm up and down. Ideally, both should be tight. If one wiggles, that is the one in need of adjustment.
Loosen both pulleys that connect to the belt holding that particular XY block.
While pulling that XY block towards the calibration arm (loading it against the 8mm shaft), tighten the pulleys.
Repeat the first test and tweak until both arms are snug.