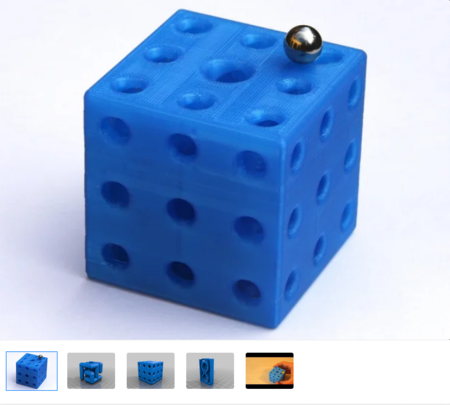
Encore un autre cube de rubik 3d pour imprimer
6196 Vues 2 Goûts 2 Téléchargements Téléchargez ici la pièce à partir de 3dforprint
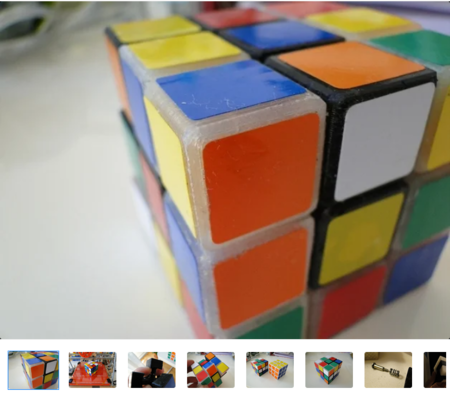
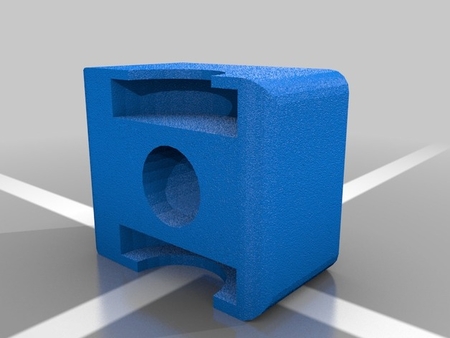
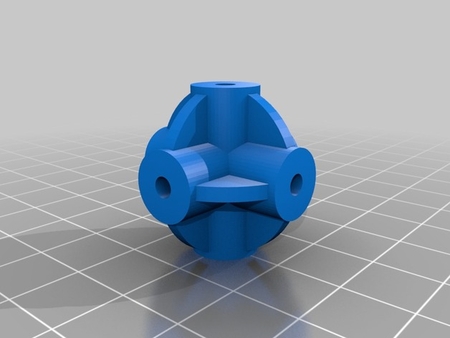
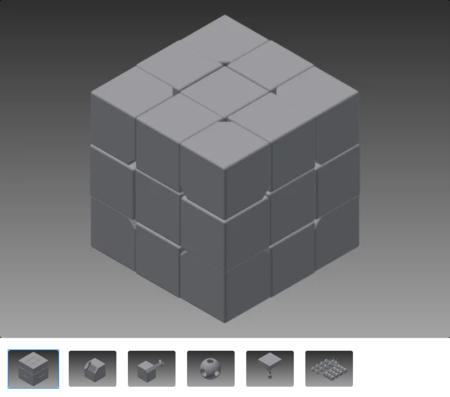
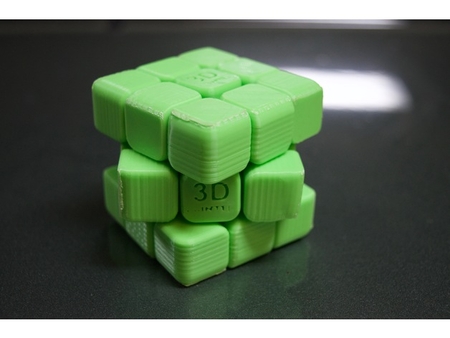
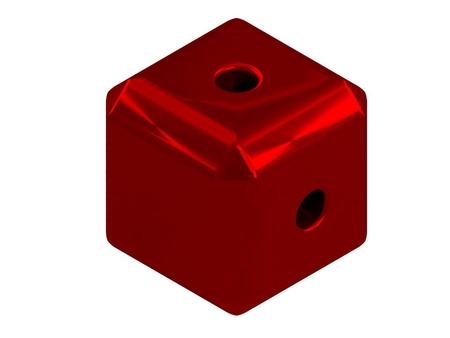
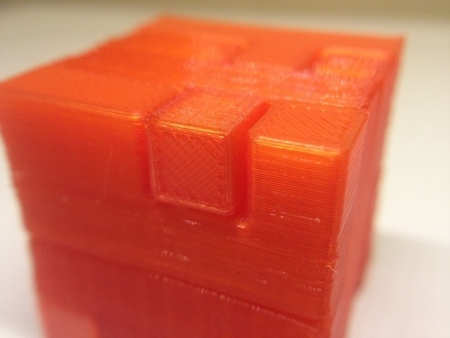
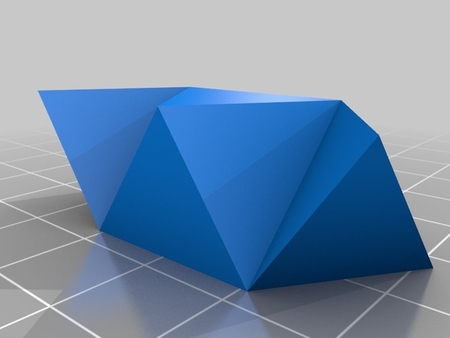
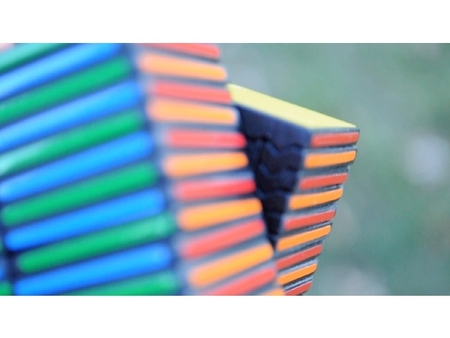
Par rapport à d'autres cubes sur Thingiverse peut-être, il a des bord...s arrondis à l'extérieur et est livré avec des structures de radeau et de support facilement activées. En utilisant ce dernier, les pièces n'ont pas à être imprimées à des angles maladroits à 45 degrés.
Je l'ai utilisé pendant quelques heures et les murs minces autour des ressorts résistent bien.
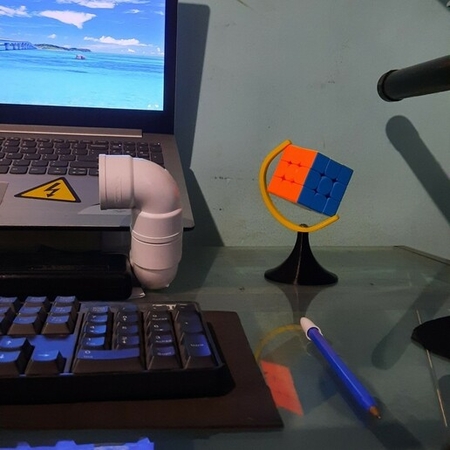
Ici, vous pouvez me voir le résoudre en environ 25 secondes, avec mon imprimante en arrière-plan:
http://www.youtube.com/watch?v=rfwn4zlhli4&feature=youtu.be
Designer
srepmubDescription du modèle 3D
Ma tentative de conception d'un cube de vitesse Rubik, en utilisant OpenSCAD.Par rapport à d'autres cubes sur Thingiverse peut-être, il a des bord...s arrondis à l'extérieur et est livré avec des structures de radeau et de support facilement activées. En utilisant ce dernier, les pièces n'ont pas à être imprimées à des angles maladroits à 45 degrés.
Je l'ai utilisé pendant quelques heures et les murs minces autour des ressorts résistent bien.
Ici, vous pouvez me voir le résoudre en environ 25 secondes, avec mon imprimante en arrière-plan:
http://www.youtube.com/watch?v=rfwn4zlhli4&feature=youtu.be
